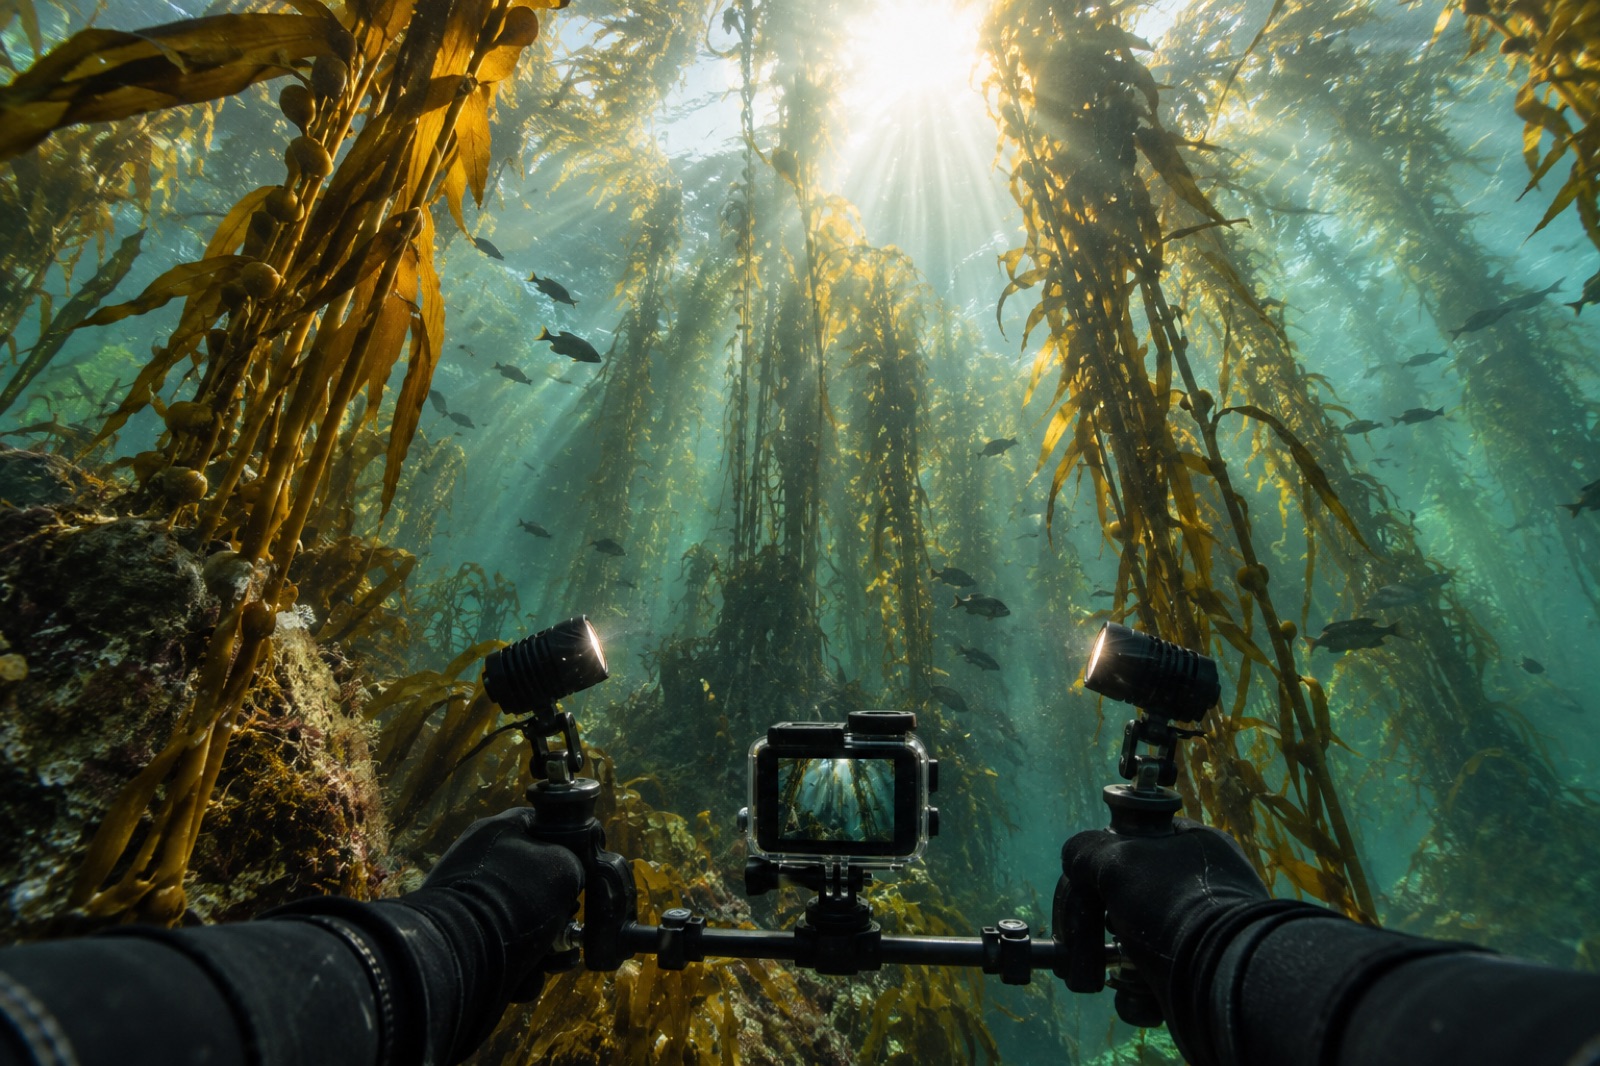
An action camera is the best value camera you can take underwater, and also the most abused. Every kelp-forest dive feed is full of the same footage: jittery, green, too far away, a fisheye smear of forest that felt astounding in person and looks like pondweed on screen. The gap between that and footage worth watching is not the camera — modern action cams shoot remarkable files — it is a handful of decisions about settings, distance, light and movement, most of which can be made before you get in the water.
This guide is those decisions. It assumes a current-generation action camera (GoPro, DJI or Insta360 class), a waterproof housing rated for your depths, and a kelp forest — though everything here applies to snorkelling over reefs too. For the broader craft of telling a forest's story on video, pair this with our underwater videography guide.
Set the camera before the dive, not during it
You will not change settings underwater. Cold fingers, surge and a housing full of buttons you cannot feel mean your configuration happens on the boat or the beach. Lock these in:
- Resolution and frame rate. 4K at 60 fps is the sweet spot: 60 lets you slow half your footage to half-speed in the edit, which smooths the inevitable action-cam jitter and makes surge look stately instead of chaotic. Only drop to 4K/30 if you need the battery.
- Lens/FOV. Choose the widest setting without the barrel distortion of the "superview" modes — usually called "Wide" or "Linear + Horizon". Extreme superview bends the kelp canopy into a cartoon.
- Colour profile. Set a flat/log profile (GoPro: GP-Log or "Flat"; DJI: D-Log M) and turn off sharpening/noise reduction as far as the menus allow. Flat files look washed out on the camera screen; they grade beautifully. If you will never grade, shoot the standard profile and skip the flat experiment — half-graded flat footage is worse than standard.
- White balance. If your model allows a manual kelvin setting, set 5000–5500 K for shallow sunlit kelp. Auto white balance underwater wanders every few seconds, and you can see the hunt in the final footage.
- Stabilisation. Leave hypersmooth/steady electronic stabilisation ON. It crops slightly; worth it every time.
Water eats sharpness, colour and contrast with distance. At three metres from your subject, you are not filming the garibaldi; you are filming three metres of green soup with a fish-shaped rumour in the middle. Action cameras have wide lenses and small sensors, so the working distances that matter are one to two metres — closer than feels necessary.
Getting closer is a buoyancy and ethics problem before it is a camera one. Slow down, exhale, let the fish come to you, and never chase. If you fill the frame by kneeling on the reef or crowding wildlife, the footage is not worth the damage — our guide to wildlife ethics in the kelp covers distances worth keeping.
Light: filters, lights, or the sun
Red disappears in the first five metres of water; by ten metres everything the camera sees is blue-green. You have three honest options:
- Use the sun. Shoot shallow (above 8 m), shoot mid-morning with the sun high, and keep the sun behind you. The kelp canopy backlit from above is the single best shot in temperate water — position for it.
- A red filter. A magenta or red filter restores warm tones in natural light down to about 15 m. It costs nothing in battery, but it does nothing in green, particle-heavy water and should be flipped off in the shallows or everything goes magenta.
- Video lights. Two small video lights on arms beat any filter below the surface layer, and they are mandatory for true-colour macro. Keep them close to the subject and set them wide to avoid lighting the particles between lens and subject — backscatter — which is the signature look of amateur footage.
In low-vis green water, no setting saves you; technique does. Read our piece on diving in low visibility and shoot macro-length subjects only.
Mounts: where the camera should live
- Hand grip or short pole (best default). Maximum control, minimum bulk, and you can hold it rock-steady with two hands against your chest in surge. A 15–20 cm pole extends reach to wildlife without crowding.
- Chest mount. Wonderful for POV reef survey footage and for hands-free shore entries through surf. The footage is shaky in motion; lock the camera level and move slowly.
- Mask/head mount. Shows what you looked at, including every twitch. Use for work footage — survey swims, entanglement checks — not for beauty shots.
- Floaty housing or wrist tether. Always. One flooded, tethered camera is a story; one untethered camera sinking into the kelp is a donation to the forest.
Whichever mount you choose, add anti-fog inserts inside the housing. Condensation is the quality killer nobody plans for: cold water outside, warm air sealed inside. Two desiccant strips per dive cost nothing.
Shooting technique in surge
Kelp forests move. Surge rocks you, the kelp, and every fish in it — which is why 60 fps and logged practice matter more here than in any coral setting.
- Brace, don't fight. Time your shots to the top of the surge pause, brace an elbow against rock (never kelp), and shoot 10-second clips rather than one long pan.
- Slow everything down. Half-speed pans, half-speed ascents toward the canopy. Your instinct at the viewfinder is twice as fast as the footage wants.
- Shoot sequences. Wide forest shot, medium shot of a stipe cluster, close-up of a holdfast, a fish, a detail. Editing is where a dive becomes a film, and sequences give your future self something to work with.
- Log your clips. In the rinse tank or on the boat, spend two minutes noting what was on each clip in your dive log. Future-you, sorting footage at midnight, sends thanks.
Aftercare: the salt is patient
Rinse the housing for ten minutes in fresh water after every dive day, working the buttons. Dry it fully before opening the back door over a clean towel — the drop of water that rolls off the hinge lands on your sensor-side lens element with perfect aim. Check the O-ring for salt crystals and hair before every sealing; grease it lightly every few weeks. A spare O-ring in your kit bag has saved more dive plans than any other single object.
Key takeaways
- Configure before the dive: 4K/60, flat colour profile if you grade, manual white balance around 5000–5500 K, stabilisation on.
- Get within one to two metres of subjects — water, not megapixels, is what eats your footage.
- Natural light above 8 m, red filter to 15 m, video lights below that or for macro; keep lights wide to dodge backscatter.
- Shoot 10-second sequences (wide–medium–close) at the top of the surge pause; 60 fps lets you slow the best moments by half.
- Tether the camera, use anti-fog inserts every dive, and rinse housings for ten minutes in fresh water after every session.
FAQ
Do I need the waterproof housing if the camera is already rated to 10 m?
Yes, for scuba. The bare-camera rating is for brief immersion and snorkel depths; sustained pressure, sand in the seals and repeated dives demand the rated housing, which typically goes to 40–60 m.
Is a flat/log profile worth it if I'm new to editing?
Only if you will actually learn basic grading. Standard-profile footage with a white-balance tweak beats flat footage left ungraded.
Viewing distance flatters small screens. The usual culprits are distance-to-subject and digital zoom — crop in the edit, never with the in-camera zoom, which discards resolution.
Can I use a red filter and lights together?
No. Lights restore the red channel; a filter would turn the lit scene magenta. Filters are for natural light only.
What's the single best upgrade after the camera itself?
A pair of small video lights, then a short pole mount. Lights change what the camera can see; everything else is ergonomics.