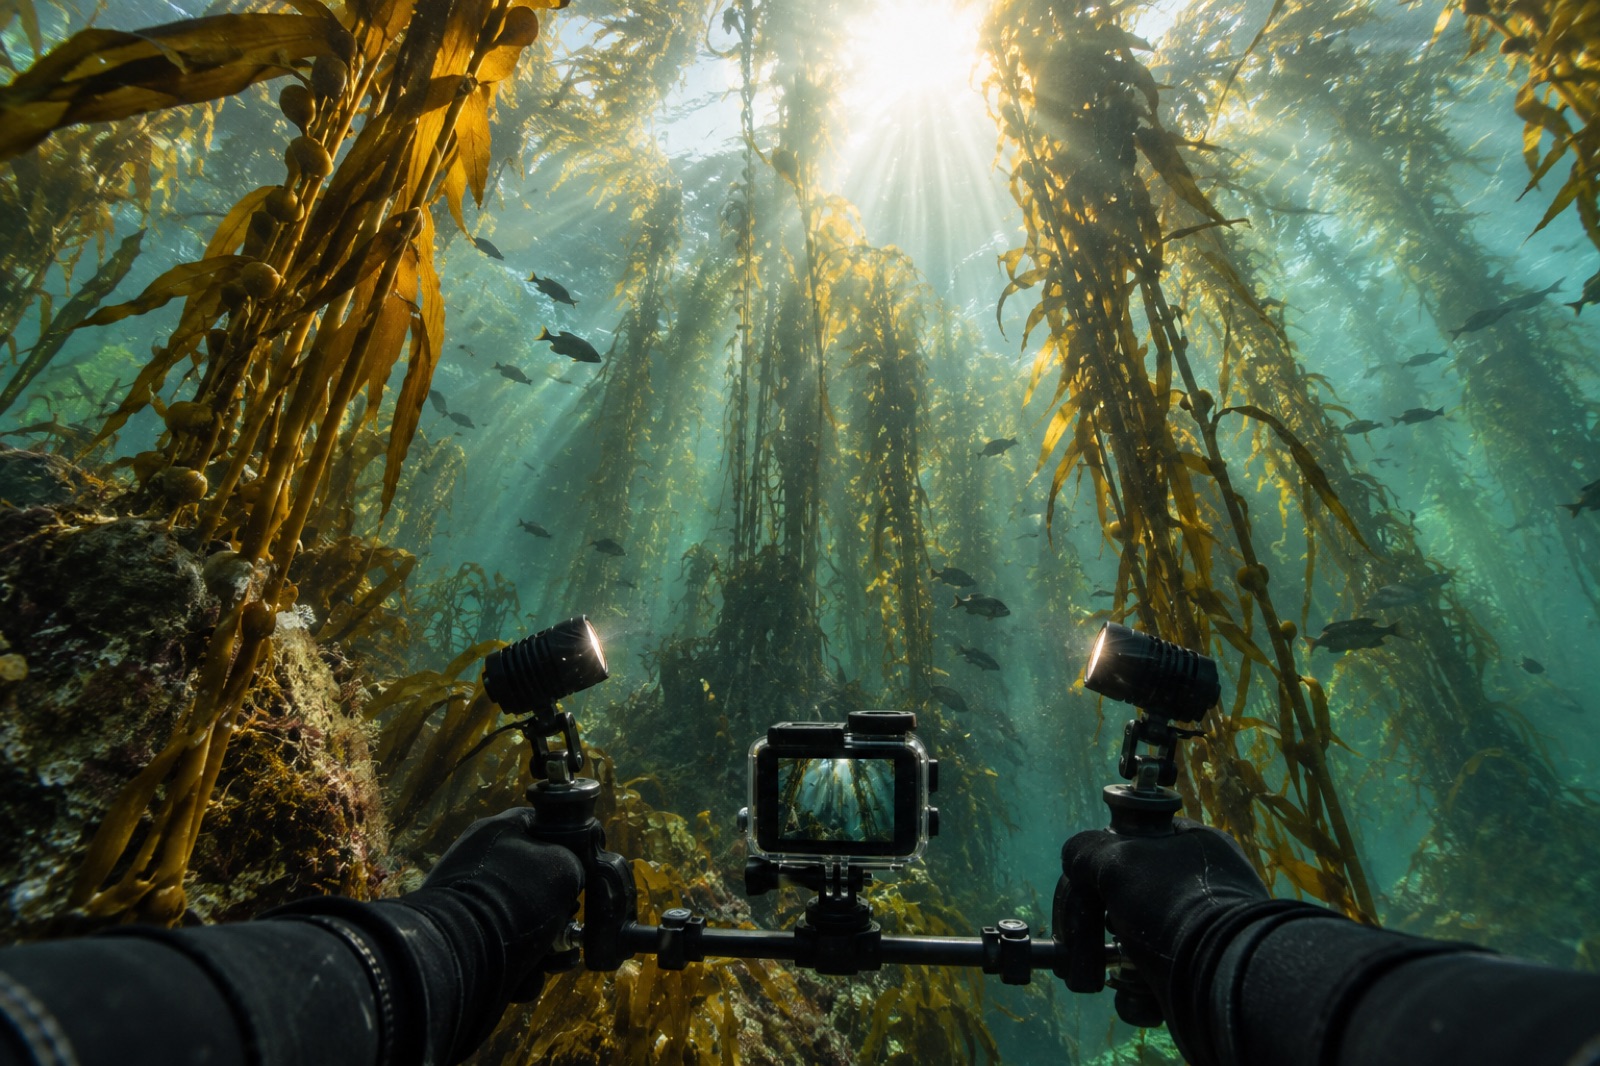
Kelp forest water is the hardest beautiful light in videography. It is green-filtered, depth-swallowed, particulate-rich and surging — and under it is one of the most cinematic ecosystems on Earth. Shooters arriving from stills find their instincts partially wrong (flash discipline doesn't help you here; continuous light does), and shooters arriving from action cams find their camera is the bottleneck. This guide is for the middle stage: a diver with a housed mirrorless camera or dedicated video rig, filming a kelp forest seriously. It pairs with our action-camera video guide for small rigs and our stills guide for photographers.
Why video in green water is its own discipline
Stills handle kelp water with strobe power: you light the subject close, overpower the ambient green, and the frame stays colourful regardless of the water column. Video can't do that — even two powerful video lights cannot replace the sun at fifteen metres — so your strategy inverts: you work with available light for wide and mid shots, and reserve artificial light for close subjects within a metre or two. Everything in kelp videography flows from accepting the green cast as the scene's real light rather than a flaw to be corrected.
The rig: camera, housing, ports and lights
For kelp filming you want low-light performance above resolution bragging rights. Full-frame or large-APS-C mirrorless cameras with strong high-ISO handling are the standard; dedicated underwater camcorders still earn a place for their zoom range and long record times. Whatever you shoot, the housing needs three things:
- A dome port for wide work. Wide-angle behind a flat port loses corner sharpness and apparent field of view underwater. A dome keeps the true wide perspective that makes kelp stipes tower.
- Sufficient buoyancy and trim adjustment. Video rigs need to hold level while you shoot; a rig that fights your wrist pulls every clip off-axis. Add floats until the camera drifts gently level, hands off.
- Two video lights on arms, positioned wide and out to the sides. Central lighting backlights the countless particles between you and the subject into circles of fluff; wide arms paint the subject while leaving the water column dark.
Lights deserve a paragraph of their own. Buy lumen output and beam quality, not kelvin-purity claims: a pair of 8,000–10,000-lumen lights with soft, even beams handles virtually everything within arm's reach. Tighter beams suit long work; broad floods suit wide close-ups. Mount them on flexible arms high and wide so the beam grazes past the lens rather than striking it.
Camera settings for kelp water
Get these decisions made on the boat and stop fiddling on the dive.
- Resolution and frame rate: 4K/30p (or 25p in PAL regions) for the main coverage; 4K/60p only for deliberate fast-moment slow motion — sea lion passes, baitfish explosions. High frame rates halve your light budget, which matters in dark water.
- Shutter: double the frame rate (the classic 180-degree rule) — 1/60 at 30p. Resist the urge to raise shutter in surge to freeze motion; it produces staccato, strobe-like playback.
- Aperture: wide or near-wide open (f/4–f/5.6 for full frame wide lenses). Depth of field is enormous with wide lenses anyway; let the sensor gather light.
- ISO: allow it to float to keep shutter and aperture at your settings. Modern sensors are cleaner at ISO 3200 than video lights make them look.
- Log profile: if your grading workflow is ready for it, a flat log profile preserves highlight and shadow detail. If it isn't, shoot a standard profile with contrast dialled back and colour sharpness low.
White balance underwater: the heart of it
Get white balance right on every shot — it is the single quality that separates footage that looks like being there from footage that looks like staring through a bottle. Two approaches:
Manual white balance off a slate or sand patch. At every depth change of a few metres, hold a grey card or a patch of light sand a body-length away, fill frame, set. Depth changes the colour of ambient light markedly; a balance set at 5 metres goes wrong at 15.
Auto-with-lock. Some shooters let the camera auto-balance and lock at depth. This works but wanders as composition changes between open water and rock face; test it with your camera before relying on it.
Red correction filters (screw-on magenta/red filters over the lens) work well for natural-light wide shots at depth: they put red back in optically rather than asking the sensor to invent it, at the cost of a stop or two of light. For close work with lights, go filterless — the lights carry the colour.
Shot discipline: the dive plan that makes an edit
Editors don't need more sea lions; they need sequences. Enter the water with a shot list in mind. The classic kelp-forest sequence architecture:
- Establisher: slow, steady wide of the canopy overhead against the sun — 8–10 seconds of stillness before anything moves.
- Reveals: the reef floor, the holdfasts, school behaviour at the edge.
- Wildlife moments: the approach-and-hover shots that only work because you were already stable when the animal arrived.
- Detail: guts — macro of tunicate colonies, nudibranchs (covered in our macro photography guide, most of which translates to video).
Each shot's discipline is the same: get stable first, start recording, hold at least ten clean seconds, let the subject enter the frame rather than chasing it. Divers make the mistake of swimming and shooting simultaneously; everything follows — vibration, surge-bounce, framing drift — from that one choice.
Buoyancy and body position
In kelp video you are a tripod. Master buoyancy to the point that you hang motionless at a chosen depth for a minute without correcting — our underwater navigation guide covers trim and reference positioning that generalises straight to filming. Watch where your fins are relative to holdfasts and reef; the same forest you're filming grows on that rock.
Editing: honouring the sea, not fighting it
Accept the green. Over-corrected kelp video with cranked reds looks radioactive and offends anyone who has been there. Restore contrast and a little warmth, keep the water's true colour, and grade sequences rather than clips so the piece feels like one dive. Music and pacing matter more than colour correction; kelp forest footage is inherently slow and breathing and should cut that way.
Key takeaways
- Use ambient light for wide shots, video lights only for subjects within a couple of metres.
- White balance at depth changes — re-balance every few metres; consider a red filter for natural-light wide work.
- 4K/30p with the 180-degree shutter rule is the reliable base; 60p for deliberate slow-motion moments.
- Get stable, start recording, hold ten clean seconds, let subjects enter your frame.
- Accept the green in the edit; over-correction destroys the feeling of the place.
FAQ
Do I need video lights if I mostly shoot wide?
Not at first. Wide work lives on ambient light; lights become essential the moment you want colour on close subjects. Many kelp shooters run wide-only with a red filter and have a productive career before buying lights.
What's the single biggest improvement to kelp video?
White balance discipline and stability, tied. Fix those two and even modest cameras produce footage that looks intentional.
Should I shoot in log?
Only if your post workflow is ready for it — log requires proper grading, and untouched log looks worse than a standard profile shot well. If you're new to grading, shoot a standard profile with contrast and saturation slightly reduced.
Is kelp videography harder than coral videography?
Different. Coral reefs offer more colour and easier light; kelp offers surge, green water, and a forest moving in every frame. It's a harder skill environment that rewards patience over flash, and the results are unlike anything else underwater.
What's a sensible first kit?
Whatever mirrorless camera you already own in a housing you trust, a dome port, good trim and buoyancy control, and a red filter. Lights and log workflows come later.