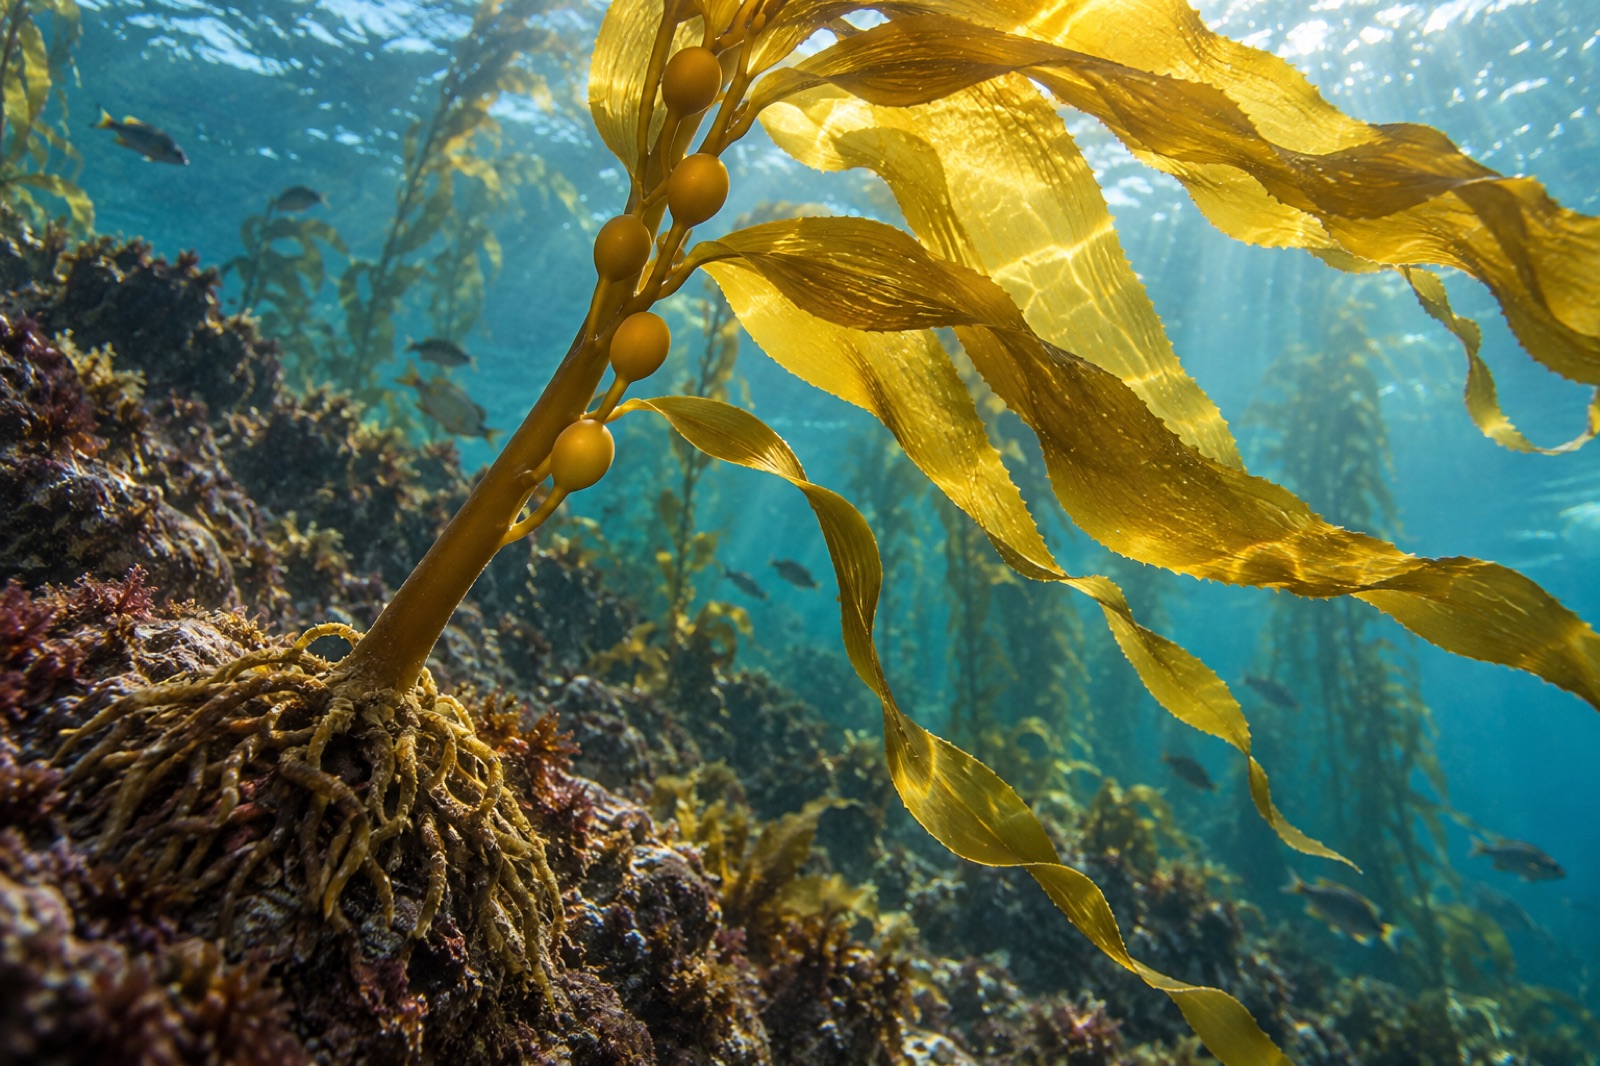
Every other environment underwater photography borrows its light from the surface. Kelp forests are different: the light comes from above you, inside the picture. The canopy doesn't just sit in your frame — it makes the frame. That is why kelp forests produce some of the most distinctive underwater photographs ever taken: cathedral columns of kelp against a sunburst, a diver hanging in gold-green space, god-rays cutting between fronds. And that is why they are hard. The canopy blocks flash, the surge moves everything, and green water eats colour. This guide covers the craft.
The light problem (and why it's the best feature)
Kelp canopy filters sunlight the way a forest canopy does: by the time light reaches you at 10–15 metres in a dense bed, it is dimmer, greener and dappled into slashes. Two consequences define your technique:
- You must shoot into the light for the signature shot. Face the sun, put the sun behind a kelp column or a ridgeline of canopy edge, and expose for the water, not the kelp. The result — kelp in silhouette against a "sunball" and god-rays — is the iconic image. Exposure: the water surface bright, the kelp reading as dark graphic shapes. This is a natural-light-only situation; strobes can't compete with the sun.
- You use strobes for the understory. Same forest, different picture: rockfish in the holdfasts, a decorator crab on a blade, a nudibranch the size of your thumb. Here the canopy has killed the ambient light and green-dominated the colour, so you bring your own light.
The master skill is knowing which of these two photographs you're making in any given moment, and not confusing the two. A common beginner error is trying to strobe a canopy sunburst shot (strobes flatten the graphic look) or shoot ambient on the forest floor (everything comes out green townhouse-shadow).
Camera settings that work in kelp
These are starting points, not commandments — water clarity, season and depth adjust everything:
The canopy sunburst (ambient light only)
- Mode: Manual, or aperture priority f/8–f/11.
- Shutter speed: 1/100–1/160 s. Fast enough to freeze surge-sway; slow enough for the sunball not to blow out.
- ISO: 200–400 in clear water; up to 800 in green winter water.
- Exposure compensation: if using A mode, dial +0.3 to +0.7 so the water surface is bright, then check histograms — the sunball will have blown highlights by design; it's the water around it that should sit at the upper right, not clipped.
- Focus: back-button focus on a kelp column at mid-distance — let the canopy edge fall naturally soft.
- White balance: if shooting JPEG, a "cloudy" or underwater preset pulls back green. If RAW (recommended), leave it and grade later.
The understory macro or portrait (strobe-lit)
- Mode: Manual f/11–f/16 for depth of field on close subjects.
- Shutter speed: 1/125–1/250 s to kill ambient green.
- ISO: 100–200.
- Strobes: wide-set, pointed slightly outward, low power for fish-eye-fill or higher to drop the background to black.
Shooting through kelp at mid-water
- Mode: Manual f/5.6–f/8, 1/125 s, ISO 400.
- Strobes: on, at moderate power, aiming to lift the kelp and subject but keep the water's green-blue gradient behind them.
Practical discipline: take one shot of the water each dive with no subject to set reference exposure, then trust the histogram, not the screen — screens lie in shallow green water.
Composition: using the architecture
Kelp hands you composition tools other environments don't:
- Vertical columns are your leading lines. A single stipe running bottom-corner to top-third is the strongest compositional move in kelp work. Frame a diagonal column, wait for a fish or diver to enter a pocket, shoot.
- Canopy edge as skyline. Shoot up from 6–10 m so the canopy edge becomes the top of frame — a golden roof with sun cutting through. This is the photograph people imagine when they hear "kelp forest."
- Silhouettes against the sunball. Diver, sea lion, garibaldi, or giant kelp frond rendered as black graphic shapes against bright water. The classic kelp shot. Chase it all you want — it never gets old.
- Pockets and windows. Kelp parts into temporary gaps that frame subjects like theatre curtains. Wait at a gap; something will swim through.
- Depth stacks. Kelp lets you compose foreground fronds, midground subject, background water column — three-layer shots are easy here and hard elsewhere.
- Backlight inside the strobe shot. With strobes on, position a fish or frond so sunlight leaks from behind it — the combination of warm strobe foreground and green-gold background is kelp-forest magic.
Wildlife specifics: sea otters photograph best at the surface in canopy, shot from a respectful distance with a short telephoto or standard wide (see the sea otter species profile for behaviour); garibaldi are fearless and make forgiving first subjects; sea lions require a fast shutter and luck. For behaviour-led shooting: find a working animal (a kelpfish hiding in a blade, a sheephead mouthing urchins) rather than chasing motion.
Conditions and timing
- Season: autumn is kelp photography season on the northern hemisphere coasts — warmest water, calmest seas, least plankton, most reliable sun. Monterey from September to November is the benchmark. Southern hemisphere equivalents run February to April.
- Time of day: midday, counterintuitively. Underwater, a high sun gives the maximum light and the strongest god-rays. Morning and afternoon sun comes in at an angle, which is often spectacular against the canopy edge but dim below.
- Water clarity: you can't photograph kelp in murk. Wait for a clear window after calm weather. Upwelling blooms and post-storm runoff switch forests off for days.
- Tide and current: slack water for calm composition and less particulate; flooding tide for clearer oceanic water at inshore sites; the beginning of the flood is often the magic hour underwater.
Safety and etiquette around the canopy
Cameras change your risk profile: attention narrows, buoyancy awareness drops, and photographers stay down longer in one spot. Snorkeling and diving safety in kelp country applies at doubled weight. Specifically for photographers:
- Never compromise buoyancy for a shot. The number one kelp-forest incident is a distracted photographer sinking onto the reef, crushing urchins, abalone and gorgonians. Establish neutral buoyancy before raising the camera.
- Kelp tangles gear. Strobe arms, hoses and lanyards catch in fronds. Streamline before you enter canopy; clip everything close.
- Wildlife trumps photographs. Working with sea otters in particular, approach legally and passively — let them come to you — and know the local rules; in some jurisdictions, harassment of otters is prosecutable.
- Look between shots. Surge moves you toward rock while you're looking through a viewfinder. Surface scan every few minutes.
Where to go for kelp forest photography
- Monterey Bay, California: the benchmark. San Carlos Beach for canopy and otters; Point Lobos for reserves-protected forest.
- Channel Islands, California: clarity, giant kelp, and big-animal chances, Anacapa for the easy version, San Miguel for bragging rights.
- Catalina Island, California: the world's most shot kelp; Casino Point is a photography classroom.
- Great Southern Reef, Australia: golden kelp at Tasmania's Fortescue Bay, Bicheno; weedy seadragons in Victoria and South Australia.
- Norway, Scotland, Hokkaido, Chile, New Zealand: cold clear kelp coasts with less traffic and different colour palettes — Norway's autumn kelp-in-aurora-light is its own genre.
Key takeaways
- Kelp photography is two disciplines: ambient sunburst shots above, strobe-lit understory below. Master one at a time.
- Start at f/8, 1/125 s, ISO 200–400 for canopy; f/11–16, 1/125–1/250 s, ISO 100 with strobes for close work.
- Compose with kelp's architecture: vertical stipes as leading lines, canopy edge as skyline, sunball silhouettes.
- Shoot midday for maximum underwater light, autumn for maximum clarity.
- Buoyancy, buddy discipline and wildlife respect come before every frame.
FAQ
What camera do I need to start kelp photography?
A compact camera in an underwater housing is genuinely enough — many iconic kelp shots were taken on small rigs. A wide-angle wet lens (for compacts) or a fisheye/wide zoom (for mirrorless and DSLR) matters more than the camera body. Upgrade strobes before you upgrade cameras.
Can I snorkel with a camera, or does kelp photography require scuba?
Snorkel photography in kelp is productive — the canopy sunburst is shot from 0–5 m, and freedivers often get the cleanest flare-free angles because they aren't blowing bubbles. Scuba is better for understory and wildlife portraits where you need time at depth.
How do I handle green water?
Get clear water (timing is everything: post-calm, early flood tide), shoot RAW, pull white balance toward magenta/amber in editing, and embrace some green — kelp water without any green reads as fake.
What's the single most common mistake?
Trying to light a sunburst scene with strobes. When the sun is in the frame, turn the strobes off and expose for ambient. The graphic silhouette is the point.
Where can I learn faster?
A guided photo-dive at Monterey, Catalina or Anacapa compresses a year of solo learning into a weekend. Several operators run kelp-forest-specific photo workshops; look for ones with small ratios and reserve access.