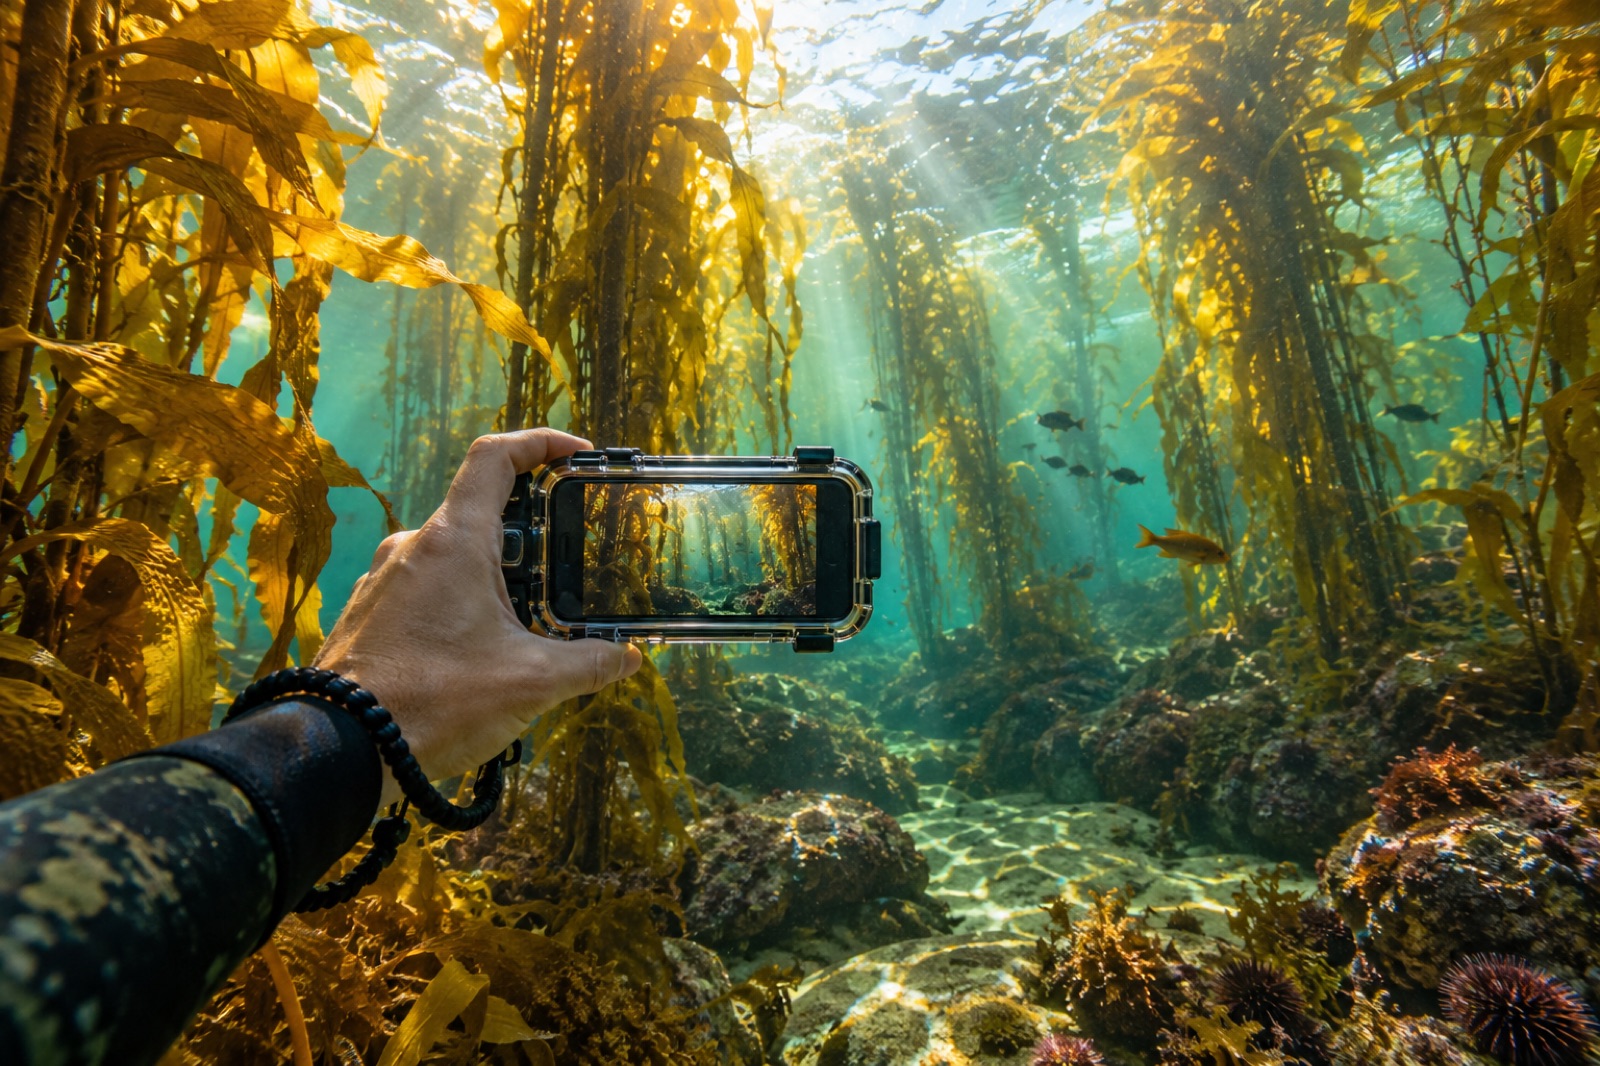
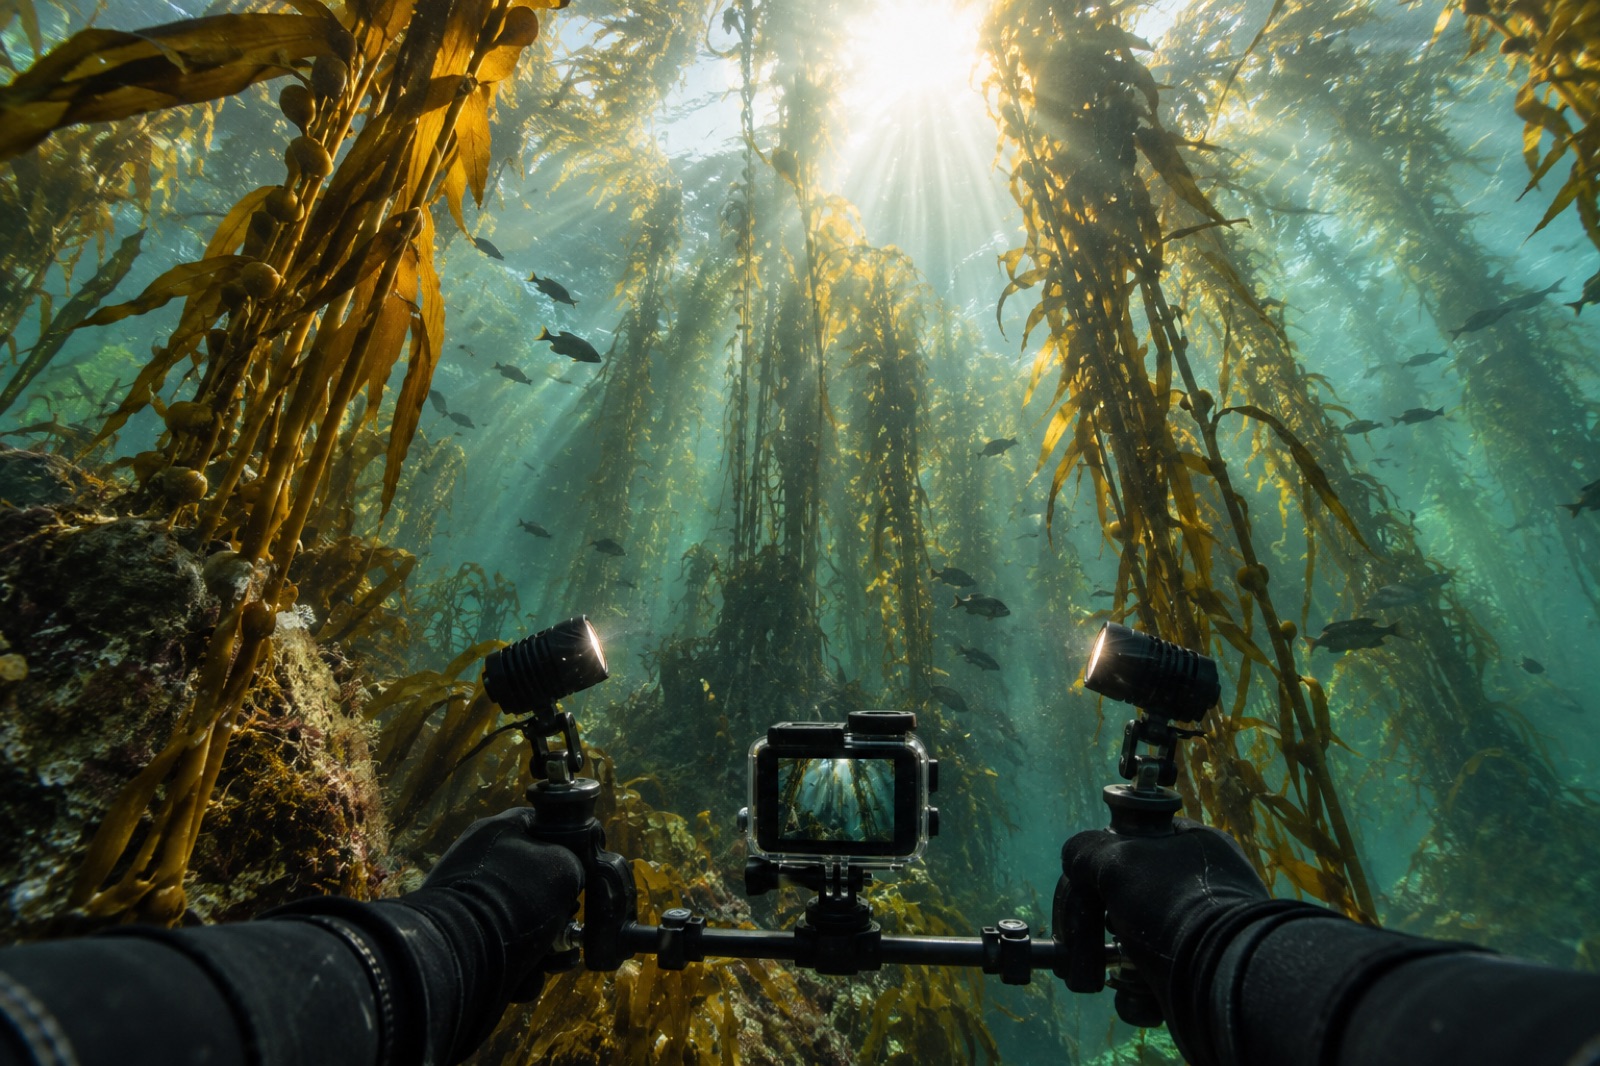
The camera that gets taken to the kelp forest is better than the camera that stays home because it costs too much to flood. Scan any ocean-conservation feed and a surprising share of the imagery — seadragons, otters wrapped in canopy, sunbursts through fronds — was shot on phones. Not because phones are better cameras (they aren't), but because a phone in a decent housing is the camera people actually bring snorkelling, and the kelp forest does most of the compositional work for you.
This guide is for the swimmer or snorkeller who wants to come home with real photographs, shot on the device already in their pocket. It covers housings that genuinely protect a phone, the small set of settings that matter underwater, the shots a phone does brilliantly, and the ones to leave to the big rigs — which, when you outgrow the phone, are covered in our main underwater photography in kelp forests guide.
Housings: the three tiers that actually work
The housing is where the money goes. The phone is already good.
Tier one — the dry bag with a window (under ~£20/$25). A clear PVC pouch with a roll-seal or clamp. Fine for surface paddling, kayaking and splash zones; genuinely risky for real snorkelling, because pressure squeezes the screen and the camera shoots through soft plastic, which smears contrast and flares in backlight. Use it for kayak and SUP photography, not for duck-dives.
Tier two — the universal hard housing ($80–250). A rigid polycarbonate case with an optical glass port over the lens and mechanical buttons or a vacuum-seal check. This is the sweet spot for snorkellers: rated to 15–40 m, full touchscreen or button access, and the glass port restores the sharpness pouches destroy. Before every session: inspect the O-ring, a single hair across it floods the case, and do the tissue test — submerge the empty housing in a sink for ten minutes with a tissue inside and check it comes out dry.
Tier three — the phone-specific smart housing ($250–600). Model-matched cases with an app that maps physical buttons to camera controls, plus mounts for wet lenses (wide-angle and macro add-ons that screw onto the port). Built-in leak sensors and vacuum ports make failure nearly impossible to miss. If you snorkel weekly or want to add a macro wet lens, this tier pays back quickly.
Whichever tier: tether the housing to your wrist or float strap every single time. The second most common way people lose phones in kelp country is dropping them in six metres of green water; the first is flooding them with a sandy O-ring.
Phone settings that matter underwater
Phones automate everything, which is mostly fine at the beach and mostly wrong underwater. Five adjustments:
- Lock your exposure and focus underwater. Water surface glare makes auto-exposure hunt constantly. Half-press or long-press to lock AF/AE on the mid-distance water — the medium blue-green — before composing. The sunball, if you shoot one, can blow out; the water around it is the picture.
- Turn the screen brightness to full before you get in. You cannot see a dim screen through a mask into sunlit water. Deciding to nurse the battery underwater means composing blind.
- Use burst mode for anything alive. Fish hold a pose for about a quarter of a second. Ten-frame bursts turn luck into statistics, and phones shoot bursts at almost no cost — sort later, in the sun, with a towel.
- Get closer than feels right, then closer. The golden rule of underwater photo: water between lens and subject is the enemy. Every 30 cm of water column adds haze and green. Phones with fixed wide lenses reward 0.5–1.5 metre working distances; fill the frame instead of cropping the murk.
- RAW, if your phone offers it. ProRAW/DNG files hold the colour information you'll want when you correct the green cast later (see editing below). JPEG straight from the phone is fine too — RAW is a ceiling-raiser, not a requirement.
The light problem, phone edition
Everything in the kelp photography light guide applies, harder. Phones have small sensors and no strobes, which defines your working envelope:
- Stay shallow. Red light is gone by 5 metres. The phone-friendly zone is 0–4 m — which conveniently is where the canopy, the sunbursts and most of the snorkelling wildlife actually live. Don't fight for deep shots; own the surface layer.
- Shoot at solar noon. Underwater, midday is golden hour: maximum light penetration, vertical god-rays through canopy, and the cleanest sunball shots. The 10 a.m.–2 p.m. window that landscape photographers avoid is your window.
- Sun behind you for colour subjects, sun in frame for silhouettes. Two-shot logic: with the sun at your back, a garibaldi or a red gorgonian at arm's length records true colour. Sun in frame, everything becomes graphic black-and-gold silhouette. Mid-day kelp forests support both from the same spot, by turning around.
- Clear water beats everything. Phones cannot punch through plankton haze the way strobes can. Plan sessions for clear-water windows — after calm spells, on a flooding tide — and treat murk days as scouting days.
The shots a phone does brilliantly in kelp
Some photographs are nearly impossible to take badly in a kelp forest with a modern phone:
- The sunball through canopy. From 2–4 metres, aim up, put the sun behind a stand of kelp or the canopy edge, lock exposure on the bright water beside it. Foreground kelp goes silhouette, the water goes gold-green, the phone's HDR stitches it together. This is the signature kelp shot and it is genuinely a phone shot.
- The split "over-under". Half the lens above the surface, half below — kelp fronds below, headland or fog above. It demands a glass or acrylic dome (tier-two housings have flat ports that work "well enough"; domes do it properly) and calm water, and it is the easiest way to make non-ocean friends gasp.
- The canopy from inside. Float at the surface looking along the understory: fronds radiating up past you into the light. No composition skill needed — the kelp does it.
- Fish portraits at a cleaning station or kelp holdfast. Get close (a metre), sun behind you, burst mode, patient stillness. Fish habituate to a motionless snorkeller in a minute or two and resume being interesting.
- Surprise phone strengths: seascapes at duck-dive depth. Because phones are tiny, they go where big rigs won't — rock crevices, under ledges, beside anemones at low tide.
Leave to the bigger rigs: anything below ~8 metres, fast action at distance (sea lion fly-bys), and dusk or night work where strobes are mandatory.
Technique that matters more than settings
- Equalise twice, think once. Duck-diving with a phone in one hand changes your body position; keep your descents slow and gentle. If you're breath-holding to shoot, buddy up and keep it conservative — a camera is the classic reason snorkellers push breath-holds further than they should. The rules in our freediving safety fundamentals apply in full.
- Brace, don't flail. The steadiest underwater camera platform is your own body, exhaled and still, elbows tucked. Two-second stillness beats any stabilisation mode.
- Buoyancy and the reef come first. Phones distract exactly like big cameras; the snorkel safety and wildlife ethics rules are unchanged — never kneel, hold or stand on reef to steady a shot.
- Video is a phone superpower. If you want motion as well as stills, phones shoot excellent stabilised 4K — the techniques in our action-camera video guide transfer directly.
Editing: rescuing the colour
Every shallow-water phone shot comes home greener and lower-contrast than the memory. Ninety-second rescue, in any editor: pull white balance toward magenta/amber (or drag 'tiles' toward warm), add contrast and a touch of dehaze, lift shadows slightly, and nudge saturation only after the balance is right. Stop while it still looks like water. Kelp-water green is honest — the goal is to restore what your eye saw, not to fake the Caribbean.
Key takeaways
- A rigid housing with a glass port ($80–250) is the sweet spot; inspect O-rings, tissue-test before sessions, always tether.
- Lock exposure and focus, run full screen brightness, use burst for wildlife, get closer than feels right.
- Phones own the 0–4 m zone: sunball-through-canopy, over-unders, canopy interiors and close fish portraits.
- Shoot at midday with the sun high and the water clear; chase light and clarity, not depth.
- Restore colour in editing with white balance and dehaze — aim for honest, not tropical.
FAQ
Is my phone's own water-resistance rating enough to shoot underwater?
Treat "water resistant" as "survives an accident," not "is a camera." Ratings cover fresh water, shallow depths, and brief immersion — not salt water, not repeated duck-dives, not an hour in 12 °C surf. Seals also age. A dedicated housing is cheap insurance for a device that holds your whole life.
How deep can I take a phone in a good housing?
Universal housings are typically rated 15–40 m — more than any snorkeller and most scuba photographers need. Depth isn't your limiting factor anyway: below about 5 metres, colour loss and dim light cap what a small sensor can do without strobes. The great phone shots live shallow.
Why are all my underwater photos green and blurry?
Blur is usually shooting through a pouch's soft plastic or water droplets on the port — upgrade the housing or squeegee the port. Green is physics: water eats red light. Fix it by getting closer to the subject (less water column), shooting shallower, and correcting white balance in editing.
Can I use the touchscreen through a housing?
Universal housings with conductive membranes generally allow touch use at the surface; at depth, water pressure or the membrane may make touch unreliable. Learn the volume-button shutter shortcut before you get in — it's the most reliable trigger underwater, with deliberate one-at-a-time presses.
Which add-on lens should I buy first?
A wide-angle wet lens. It lets you stay close (less water column, clearer colour) while still fitting the forest in frame — the single biggest image-quality jump for kelp scenes. Macro add-ons are the second purchase, for the blennies and nudibranchs you start noticing once the wide shots are easy.