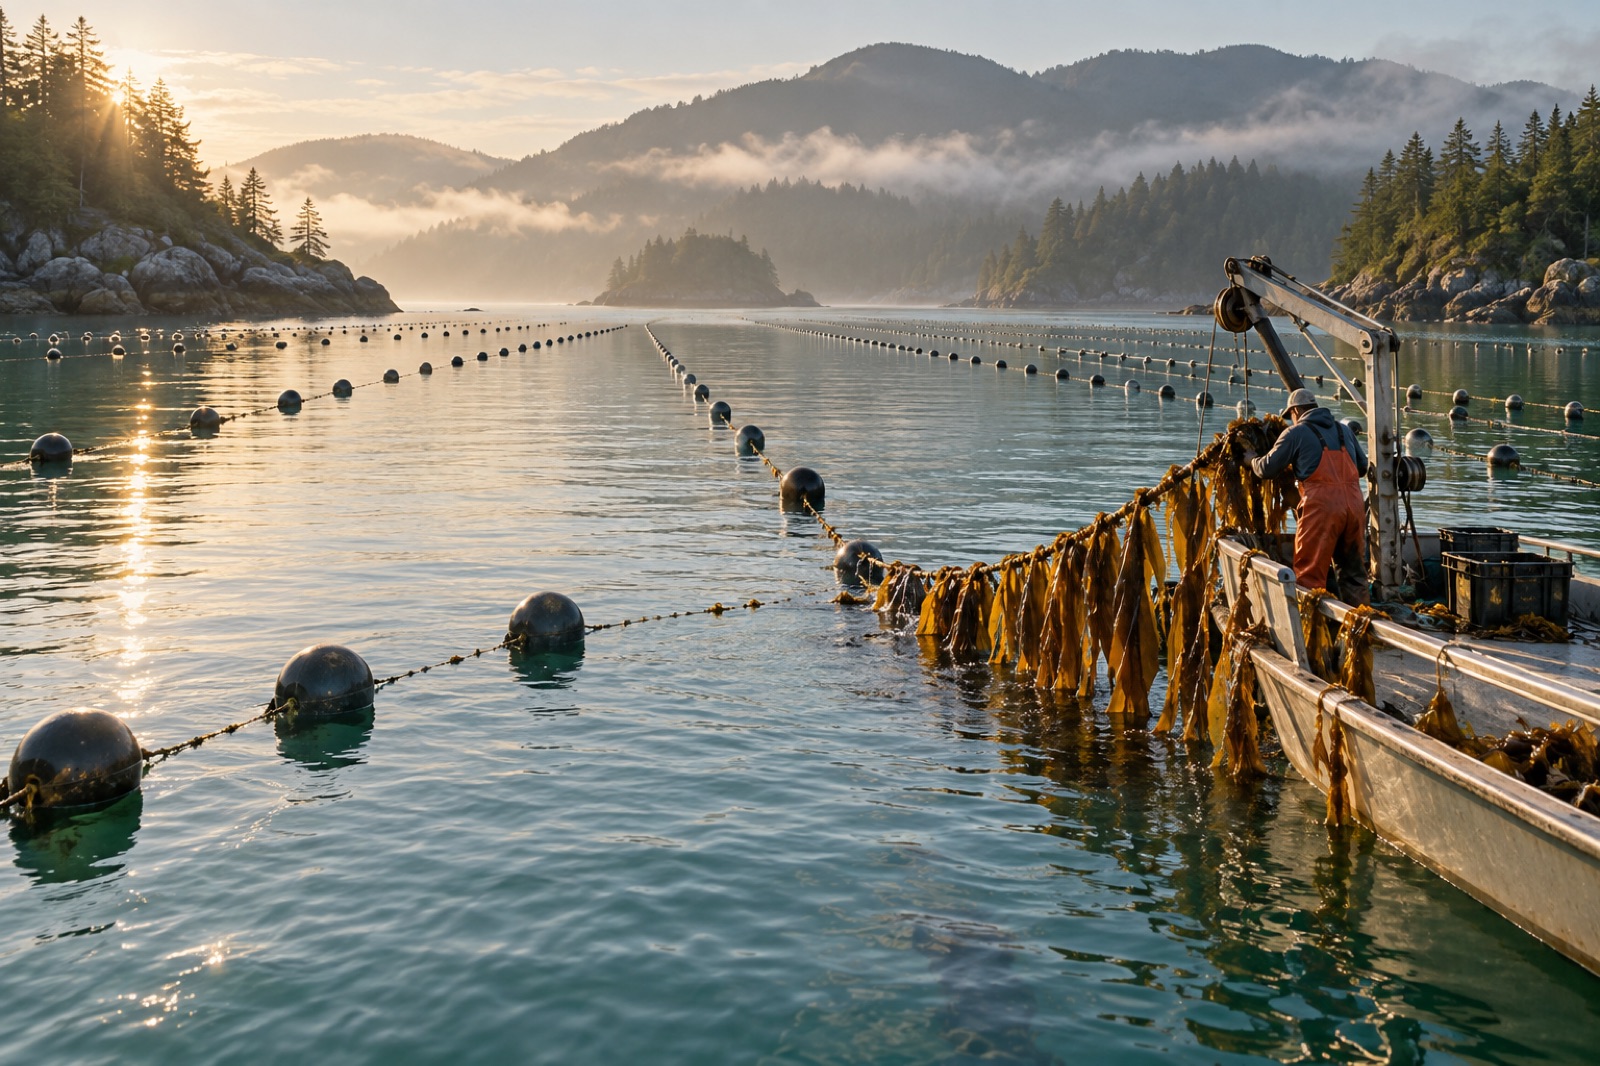
Every kelp farm starts the same way: with a few centimetres of string. If you have read our guide to seaweed seed stock from spores to seeded line, you know the biology. This article is about the building — how to turn a spare room, a shed or a shipping container into a working hatchery that reliably produces seeded twine for a small commercial farm. The good news is that a kelp hatchery is one of the most affordable pieces of aquaculture infrastructure you can own. The bad news is that it punishes carelessness, because you are raising organisms smaller than dust in seawater you cannot yet see into. Here is how to build one that works.
Do you need your own hatchery?
Before drawing floor plans, ask the commercial question. Buying seeded twine from an established hatchery costs more per metre but removes a whole layer of risk, regulatory overhead and labour. For most first-year farmers, buying seed is the right call — it lets you prove your site, your gear and your market before you invest in culture capacity.
Owning a hatchery starts to make sense when:
- You are scaling beyond a hectare or two and seed is your biggest single input cost.
- Seed supply in your region is unreliable, seasonal orders sell out, or shipping distances threaten seed quality.
- You work with a species or local strain that no commercial supplier carries — increasingly common as farmers request locally sourced genetics under permitting rules.
- You plan to supply neighbouring farms as a revenue stream of its own.
Tidewright's Holdfast nursery system exists for exactly this last reason: our coastal hatcheries grow site-matched seed stock on a scale no farm could justify alone. But the design principles below are the same at any scale.
Choosing and preparing the space
A small hatchery needs surprisingly little floor area. A 20–40 square metre room can realistically seed several kilometres of twine per season, enough for a serious small farm. What the space must offer:
Temperature stability
Most temperate kelp gametophytes want 8–14 °C and a stable ±1 °C. A plywood shed in a maritime climate can work in winter but will cook your cultures in a heatwave. Estimate your heating and (more often) cooling load honestly, and insulate properly — the electricity bill is a running cost, not a one-off.
Seawater access
You have three realistic options:
- Pumped natural seawater, if you are on the coast. You will need intake permitting, coarse filtration first, then fine filtration to at least 1 micron plus UV sterilisation before the culture room. Intake placement matters: shallow harbour water carries sediment, bacteria and — at the wrong times of year — competitor spores.
- Delivered seawater from a supplier or nearby waterbody, filtered and sterilised on arrival. Standard practice for inland hatcheries.
- Artificial seawater made from commercial salt mixes. Expensive per litre and usually slightly wrong chemically for finicky species, but perfectly adequate for many workhorse kelps, especially for gametophyte maintenance rather than sporulation.
Many small operations run a hybrid: delivered natural seawater for the critical sporulation and seeding steps, artificial for routine culture maintenance.
Services
Expect to need a dedicated power circuit (compressors, chillers, lights and UV are all continuous loads), a drain floor or wet-room tolerant flooring, potable water for cleaning, and enough headroom to work comfortably over tanks. A hatchery is a wet, splashy, salt-wet room; build it like a small commercial kitchen, not a lab bench in the corner.
The core equipment list
These are the minimums for a primitive-but-functional kelp hatchery. Prices vary wildly by region and by how much you buy second-hand, but order-of-magnitude costs assume a lean build:
- Culture vessels: glass flasks and carboys for stock cultures (clean, autoclaveable), plus aerated tubs or conical tanks for ramping up gametophyte biomass. A few hundred dollars buys a functional set.
- Illumination: full-spectrum LED tubes or panels on timers. Kelp gametophytes are modest: 20–80 µmol photons m⁻² s⁻¹ is a common target. Avoid the temptation to over-light — excess light means excess photooxidative stress and faster nutrient depletion.
- Temperature control: a chiller on a recirculating water bath, or climate-controlled room with the vessels sitting in chilled troughs. Size the chiller for the worst summer day, not the average.
- Aeration: a small oil-free compressor, manifold, and bacterial filters on each line. Never share unfiltered air between vessels.
- Sterilisation: a pressure cooker or small autoclave for media, tubing and culture vessels, plus a UV unit for seawater.
- Microscopy: a stereo microscope and a decent compound scope are essential — you cannot manage what you cannot see. Budget for a scope with a camera; images are how you document contamination and track growth stages.
- Seeding rig: a shallow tank or raceway where spore solution is circulated over stretched twine for a set contact period. Simple to build; the engineering is in the cleaning regime.
- Cold storage: a chest refrigerator for holding seeded spools at low temperature to slow growth before outplanting.
A disciplined DIY builder puts a functioning micro-hatchery together for a few thousand dollars. A comfortable commercial spec — backup power, redundant chillers, proper UV, good scopes — sits comfortably in the low five figures.
Designing the workflow, not just the room
Contamination kills more hatcheries than equipment failure, so lay the room out around a one-way flow: clean seawater in → sterilised media and vessels → stock cultures → grow-out tubs → seeding room → quarantined seeded spools. Never let equipment or operators move back upstream without cleaning. Practical rules that experienced hatchery managers swear by:
- Keep stock cultures sacred. A small set of clonal gametophyte lines, maintained in flasks at low light and cool temperature, is your insurance policy. It survives even if every downstream vessel crashes.
- Batch, don't blend. Run the season as discrete weekly batches so a contamination event is traceable and contained. Label everything with batch, date and species.
- Design for cleaning. Every surface should tolerate salt water plus a dilute bleach or hydrogen peroxide wipe-down. Painted cinderblock is fine; raw timber is a headache forever.
Water chemistry: the quiet half of the job
Growing stock is only half the craft. The other half is keeping the medium right:
- Nutrient enrichment: most hatcheries work with variants of Provasoli enriched seawater (PES) or simpler f/2-style recipes, dosed by batch. F/2 is cheaper; PES's soil extract and vitamins help some finicky strains.
- Germanium dioxide: a classic treatment that suppresses diatoms — the brown film that otherwise coats everything. It is effective but toxic to handle with care; many modern hatcheries avoid it through stricter filtration and UV instead.
- Salinity, pH, oxygen: monitor all three in the tanks, not just the reservoir. Small vessels with aeration can drift pH upward fast under lights.
- Logger discipline: a cheap temperature and light data logger per tank repays its cost the first summer.
Regulations, genetics and biosecurity
This is the part new hatchery operators most often underestimate, and the part regulators care most about:
- Broodstock collection permits: in most jurisdictions you will need collection permits, and there may be limits on how many fertile sori you can take and from where.
- Movement of seed: many regions now restrict transporting seeded twine across waterbody boundaries to protect wild kelp genetics. Increasingly, permits require local provenance — seed raised from broodstock collected within a defined distance of your farm. Build relationships with regulators early; they are usually delighted to talk to applicants who arrive informed.
- Record keeping: where every batch of spores came from, which stock went into which tank, and where each seeded spool was planted. Good records are both a permit requirement in many places and your first line of defence when something fails.
A useful reference while you plan the legal side is our beginner's guide to starting a small seaweed farm, which covers site permitting in parallel.
A realistic season timeline
For a winter-growing temperate species like sugar kelp, a typical first-year rhythm looks like this:
- Late summer: collect fertile sori from healthy wild blades under permit; induce spore release in the lab; establish gametophyte cultures.
- Early autumn: ramp up gametophyte biomass in cool, dim culture; trigger sporulation by raising temperature and light when seeded twine is needed.
- Autumn seeding window: circulate dense spore/gametophyte suspension over twine in the seeding rig for 24–72 hours; move seeded spools to chilled holding.
- Late autumn: outplant seeded twine onto farm longlines. If you are still sizing your lines, see longline design for seaweed farms before you tension anything.
- Winter through spring: maintain stock cultures at maintenance conditions, clean everything, and analyse what went wrong.
Mistakes we see first-time hatcheries make
- One chiller, one compressor, one chance. Redundancy is not a luxury when a $200 air pump owns the fate of your season.
- Overbright lights. New operators light for what they imagine plants want. Kelp gametophytes are shade-adapted spoil-sport cells; less is often more.
- Skipping quarantine on new stock. A single contaminated flask introduced to a shared water bath can rewrite your whole stock room in a fortnight.
- Designing the room around the tanks rather than the workflow. If you cannot move a full vessel without stepping over a drain hose, the layout is wrong.
Key takeaways
- A functional small kelp hatchery fits in a room of 20–40 m² and a few thousand dollars — the real investments are sterile technique, clean water and disciplined temperature control.
- Buying seed first and building hatchery capacity second is usually the economically sensible order.
- Design the room around a one-way contamination workflow; keep a sacred set of stock cultures upstream of everything.
- Permits for broodstock collection and seed transport increasingly require local genetics and good records — plan both from day one.
- Redundancy in chillers, compressors and power is what separates a failed season from an annoying week.
FAQ
How big a hatchery do I need for a one-hectare seaweed farm?
For a single hectare of longlines at typical densities, a 15–25 m² well-run culture room with a modest seeding tank is sufficient, provided you batch production over several weeks rather than trying to seed everything at once. The constraint is usually labour at seeding time, not space.
Can I run a hatchery on artificial seawater?
Yes for many temperate kelps, particularly for gametophyte stock maintenance. Sporulation and seeding tend to be more reliable in filtered natural seawater, so many inland operators use deliveries for those steps and artificial seawater for routine culture.
How long does it take from spore to seeded twine?
For a warm-managed species like sugar kelp, expect four to ten weeks from collecting sori to holding seeded spools, depending on how much gametophyte biomass you need to grow. Build slack into your calendar the first year — everything takes longer than the protocol says.
What is the most common cause of hatchery failure?
Contamination — usually diatoms, ciliates or opportunistic bacteria — followed closely by temperature excursions during heatwaves. Both are prevented by the same things: filtration and UV on the seawater, clean technique, batch discipline and redundant cooling.
Do I need a science degree to run a kelp hatchery?
No, but you do need a mentor, a microscope and humility. Several extension programmes and industry groups run hands-on hatchery courses; take one before you build, and read our explainer on the hatchery biology from spores to seeded line so the processes below deck make sense.