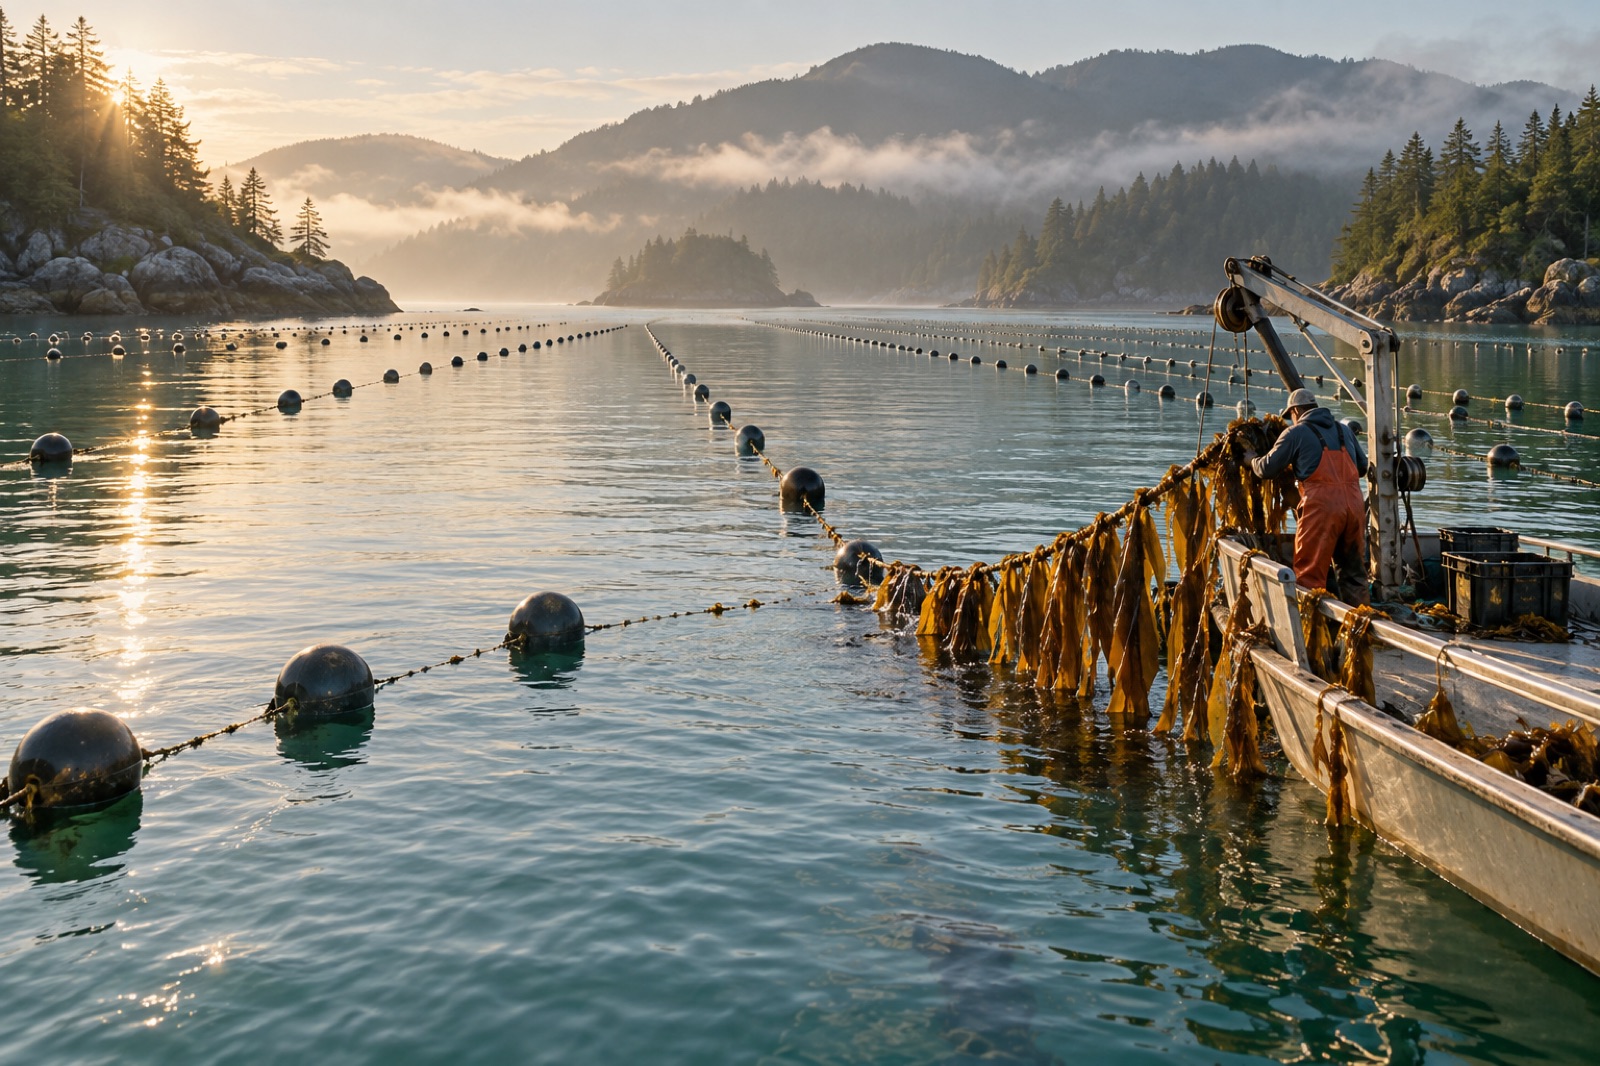
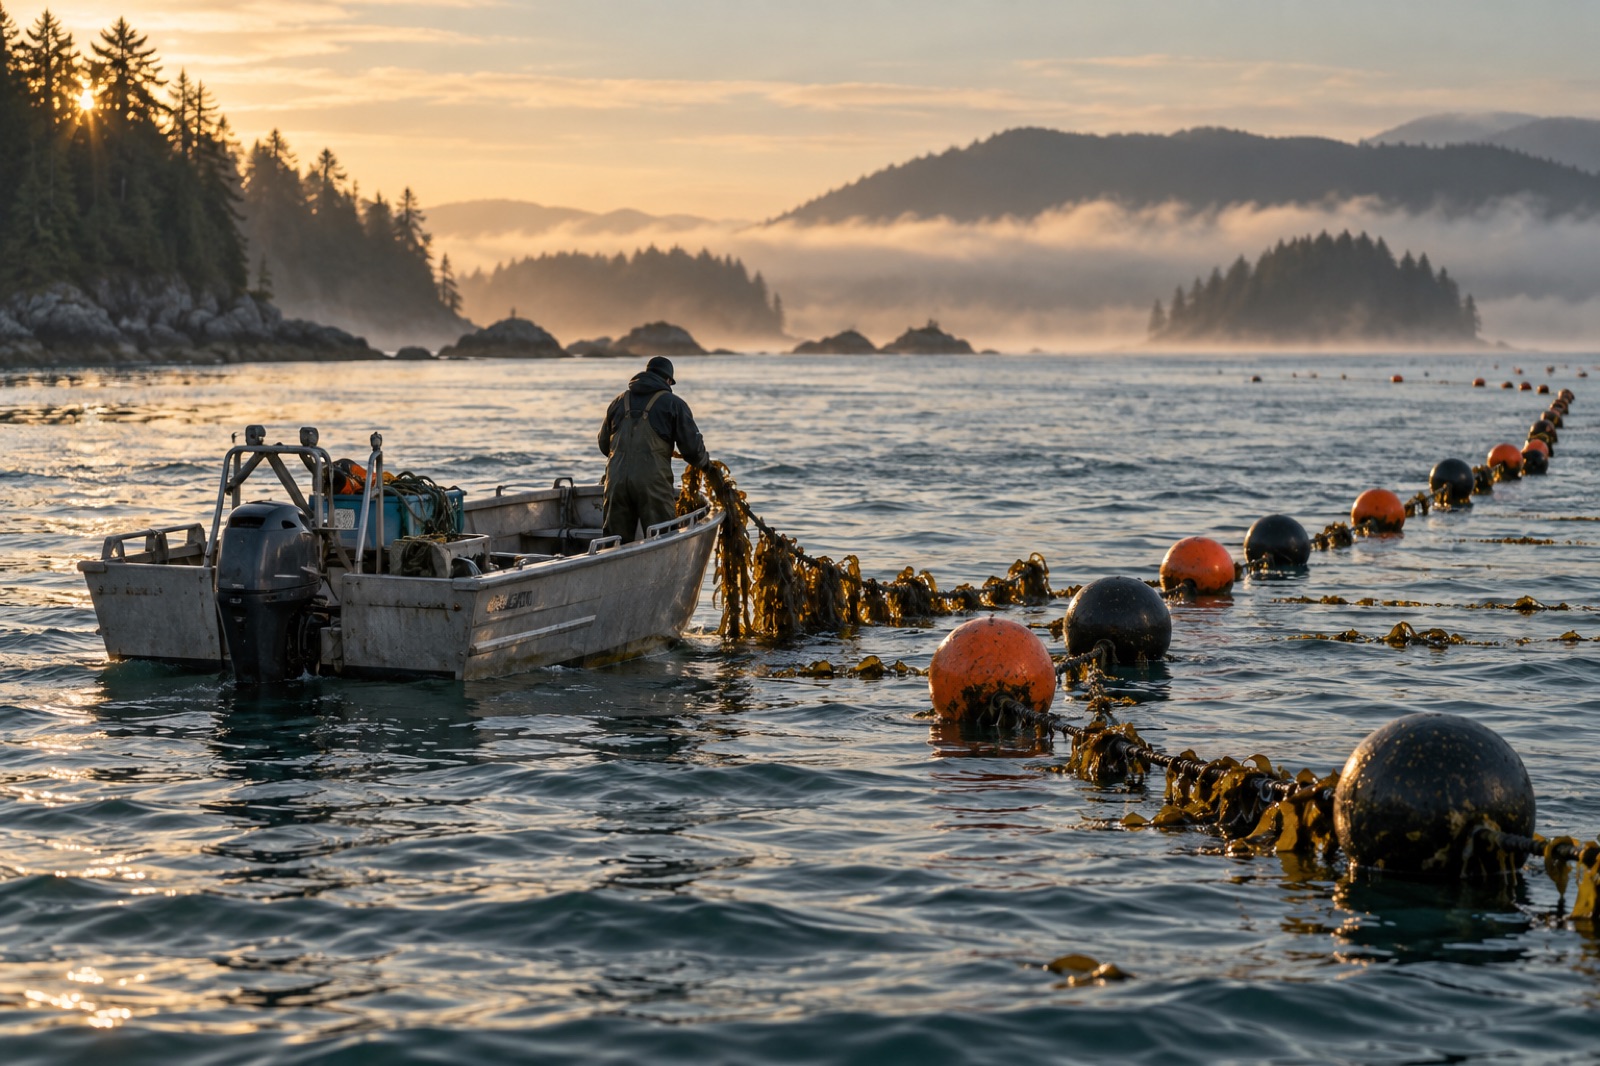
A small kelp farm is one of the few agricultural startups you can launch for the price of a small fishing boat rather than a land purchase, on a lease measured in hectares of water rather than acres of soil, and with a crop that needs no fresh water, no fertilizer and no feed. It is also a real business with real failure modes: storms that strip a season's crop in a night, permits that take a year longer than the product plan assumed, and a harvest window measured in weeks. This guide walks through what starting a small farm actually involves — from the first phone calls to the first harvest — so you can plan with your eyes open.
It is written for the most common beginner format: a longline farm between one and five hectares, growing a kelp or sugar kelp-type species for food or processing markets. Much of it generalises, but every coastline has its own rules, species and seasons.
Step 1: Learn the water before you pick a model
Your first decision is not what to grow but where. A site makes or breaks a farm, and site selection is a research project of its own. Work through these questions:
- Temperature. Sugar kelp and most farmed kelps are cold-water crops, thriving roughly between 4–14 °C depending on species. Pull a multi-year temperature record for the site (public monitoring buoys, shellfish-grower data, or your own sensor for a season). One hot summer decides whether your crop reaches harvest.
- Nutrients. Kelp needs dissolved nitrogen, above all. Sheltered bays can run nutrient-poor in summer; mouths of estuaries, upwelling-influenced headlands and currents past mussel farms tend to be richer.
- Exposure. Moderate water motion is good — it delivers nutrients and strengthens fronds. Storm surf on an open coast is not. Look for a site protected from the prevailing storm direction, in a depth of roughly 10–25 m for a standard longline layout.
- Salinity and turbidity. Persistent low salinity from a river mouth stresses kelp; heavy sediment smothers the growth line.
- User conflicts. Navigation lanes, anchorages, popular fishing grounds, marine protected areas and tourism views all shape what the permitting agency and your neighbours will accept.
Spend real time talking to the people already on that water: fishers, harbour masters, shellfish growers, Indigenous sea-country holders and rangers. Not only is this the right way to start; the consultation record becomes part of your permit file later.
Step 2: Choose a species and a market together
Beginners often choose a species first. Do the opposite: find your buyer, then grow what the buyer wants.
- Food-grade sugar kelp or kombu-type species sell to restaurants and processors but demand tight quality — clean water, careful handling, fast chilling or drying after harvest.
- Biostimulant or feed-ingredient markets accept a yellower, rougher product in bulk, usually via a contract buyer — lower price per kilogram but more forgiving quality specs and a single customer.
- Bio-packaging, cosmetics and research buyers are niche, high-value, and fickle.
Whichever you pick, obtain your seed stock from a licensed hatchery supplying spore-seeded line matched to local genetics. Collecting and seeding your own wild sorus material is possible in some jurisdictions, but hatchery seedstock gives consistency, disease screening, and genetic provenance records that buyers increasingly demand. This is exactly the service Tidewright's Holdfast hatchery system provides for its restoration partner farms — and even as a small independent grower, contracting a hatchery for your first seasons is money well spent. For a deeper look at what happens inside a hatchery, see our guide to seaweed seed stock.
Step 3: Permits — start them now
Permitting is the longest pole in the tent, almost everywhere. Depending on your jurisdiction you may need some or all of:
- An aquaculture lease or license over the seabed and water column
- Navigation marking approval from the maritime authority (lights, buoys, charting)
- An environmental assessment, from a simple statement to a full review depending on scale and sensitive habitat
- Biosecurity plans covering seed transfers between regions
- Food safety registration if you will sell an edible product
Beginning timelines range from a few months in seaweed-friendly jurisdictions to two years or more in contested waters. Start the process a full season — ideally 18 months — before you want seed in the water. Many regions have grower associations that will tell you, bluntly and accurately, which agencies to call in which order. Join one before you file a single form.
Step 4: Gear and infrastructure
A one-hectare longline farm is a grid of marine hardware: header lines, anchors, buoys and seeded growth lines. The current typical starting kit for one hectare:
- 5–10 main lines, 100–120 m long, in 20–24 mm rope
- Anchoring — commonly 6–12 helical screw anchors or concrete blocks, sized for your bottom type
- Subsurface floats to hold lines horizontal at growing depth (typically 1–3 m below surface in calm conditions)
- Marker and corner buoys, navigation lights if required
- A workboat with hauling capacity and deck space; many beginners contract a local fishing vessel for install and harvest days
We cover the engineering in detail — rope choices, anchor sizing, depth and spacing rules — in longline design for seaweed farms. Build in slack and safety factors from day one: storm loads, biofouling weight and harvest weight are all bigger than the calm-day geometry suggests.
Step 5: Seed, grow, monitor
The season runs backwards from your out-planting date, which the hatchery sets from local water temperatures. Kelp sporelings go from thread-thin to harvest-ready in roughly four to six months, depending on species and site. In between:
- Check weekly at minimum: line tension, floatation, frond health, biofouling (bryozoans, hydroids, sea squirts), and grazing signs.
- Watch temperature and storms. A marine heatwave can bleach a crop; a big winter storm can part a line. Both happen and both are survivable with good gear discipline.
- Record everything — growth measures, fouling dates, work done. These records sell your product (traceability), satisfy your lease conditions, and make year two dramatically easier than year one.
Step 6: Harvest and price it
Harvest comes suddenly: a few-weeks window when the kelp is at maximum length but has not yet begun to degrade with warming spring water. Small farms often stagger harvest across lines to buy days. Product goes into one of several channels:
- Fresh, chilled — highest price, shortest shelf life (days); only works with a committed buyer on call.
- Dried — the stable, storable baseline product of the kelp world; drying infrastructure (a polytunnel, rack dryer or contracted dehydrator) is worth planning before you ever plant.
- Frozen — a middle path; chops well for food service and retain quality for months.
Price expectations vary wildly by species, region and product form. Treat any spreadsheet promising constant prices with suspicion; model three scenarios (poor, medium, good) and make sure the poor case does not bankrupt you. Build a second buyer if you can — one of the classic beginner mistakes is letting a single buyer discover, at harvest, that they are the only customer.
Budget reality and timelines
Order-of-magnitude figures for a first hectare, excluding your own labour: leases and permits (hundreds to a few thousand dollars, hugely jurisdiction-dependent); mooring and hardware (a few thousand to tens of thousands depending on anchor type); seed stock (per-metre of seeded line, set by the hatchery); and boat/contract time. A lean first operation — existing vessel, rented dryer, handshake-consulted permitting — can launch for tens of thousands of dollars; a fully kitted small farm with its own boat and drying shed for well over a hundred thousand. The seed-to-harvest cycle fits within one growing season, but the learning cycle takes two or three. Plan for year one to be a paid apprenticeship rather than a profit centre.
Common first-year mistakes
- Buying gear before securing the permit. Hardware ordered against an unapproved site is hardware at a discount on a second-hand board.
- Skipping the buyer conversation. Grow the crop someone has already asked for.
- Under-engineering moorings. Specify for the worst winter storm you can imagine, not the calm day you installed on.
- Collecting wild seed to save money where regulations or quality will bite later.
- Harvesting late. The crop is ready weeks before your schedule feels ready.
Key takeaways
- Choose the site before the species, and the buyer before the species: market pull, not biological enthusiasm, drives a viable first farm.
- Permitting is the longest timeline — start 12–18 months before your target season, and join the local grower association first.
- Use licensed, genetically matched hatchery seed stock from season one.
- Engineer moorings for storms, biofouling weight and harvest weight, not calm-water geometry.
- Model three financial scenarios and make sure the poor one is survivable; year one is a paid apprenticeship.
FAQ
How much does it cost to start a small seaweed farm?
Very roughly, tens of thousands of dollars for a lean one-hectare operation with an existing workboat and contracted services, to well over a hundred thousand dollars for a fully equipped small farm. Permits, hardware, seed and vessel time are the big buckets; your own labour is the cost nobody counts.
How long from decision to first harvest?
The growing season itself is four to six months from out-planting, but counting permitting and hatchery scheduling, plan for 12–24 months from your first serious planning to a first harvest. Jurisdictions with streamlined seaweed permitting can be much faster; contested coastlines can be slower.
Can I collect my own seed stock from wild kelp?
In some regions, yes — typically under a collection permit, in a defined season, and with sorus material handled under biosecurity rules. For a first farm, licensed hatchery seed is strongly recommended: it comes disease-screened, quality-verified and matched to local genetics, and it removes the whole tissue-culture learning curve from your critical path.
Is there a market for my harvest?
There is — the global demand for farmed seaweed far outstrips supply — but "a market" is not the same as "your buyer". Food-grade kelp sells to restaurants, processors and distributors; biostimulant and feed markets buy in bulk against contracts. Line up at least one committed buyer, and ideally a second, before seed goes in the water.
Do seaweed farms harm the environment?
Well-sited, moderate-scale farms generally have neutral-to-positive local effects: they can provide nursery habitat, take up excess nutrients, and create structure in otherwise empty water. Risks come from poor siting (shading sensitive habitats, conflicting with wildlife), genetic mixing from poorly provenanced seed, and marine debris from lost gear. Responsible siting, hatchery seed and rigorous gear discipline cover most of it.