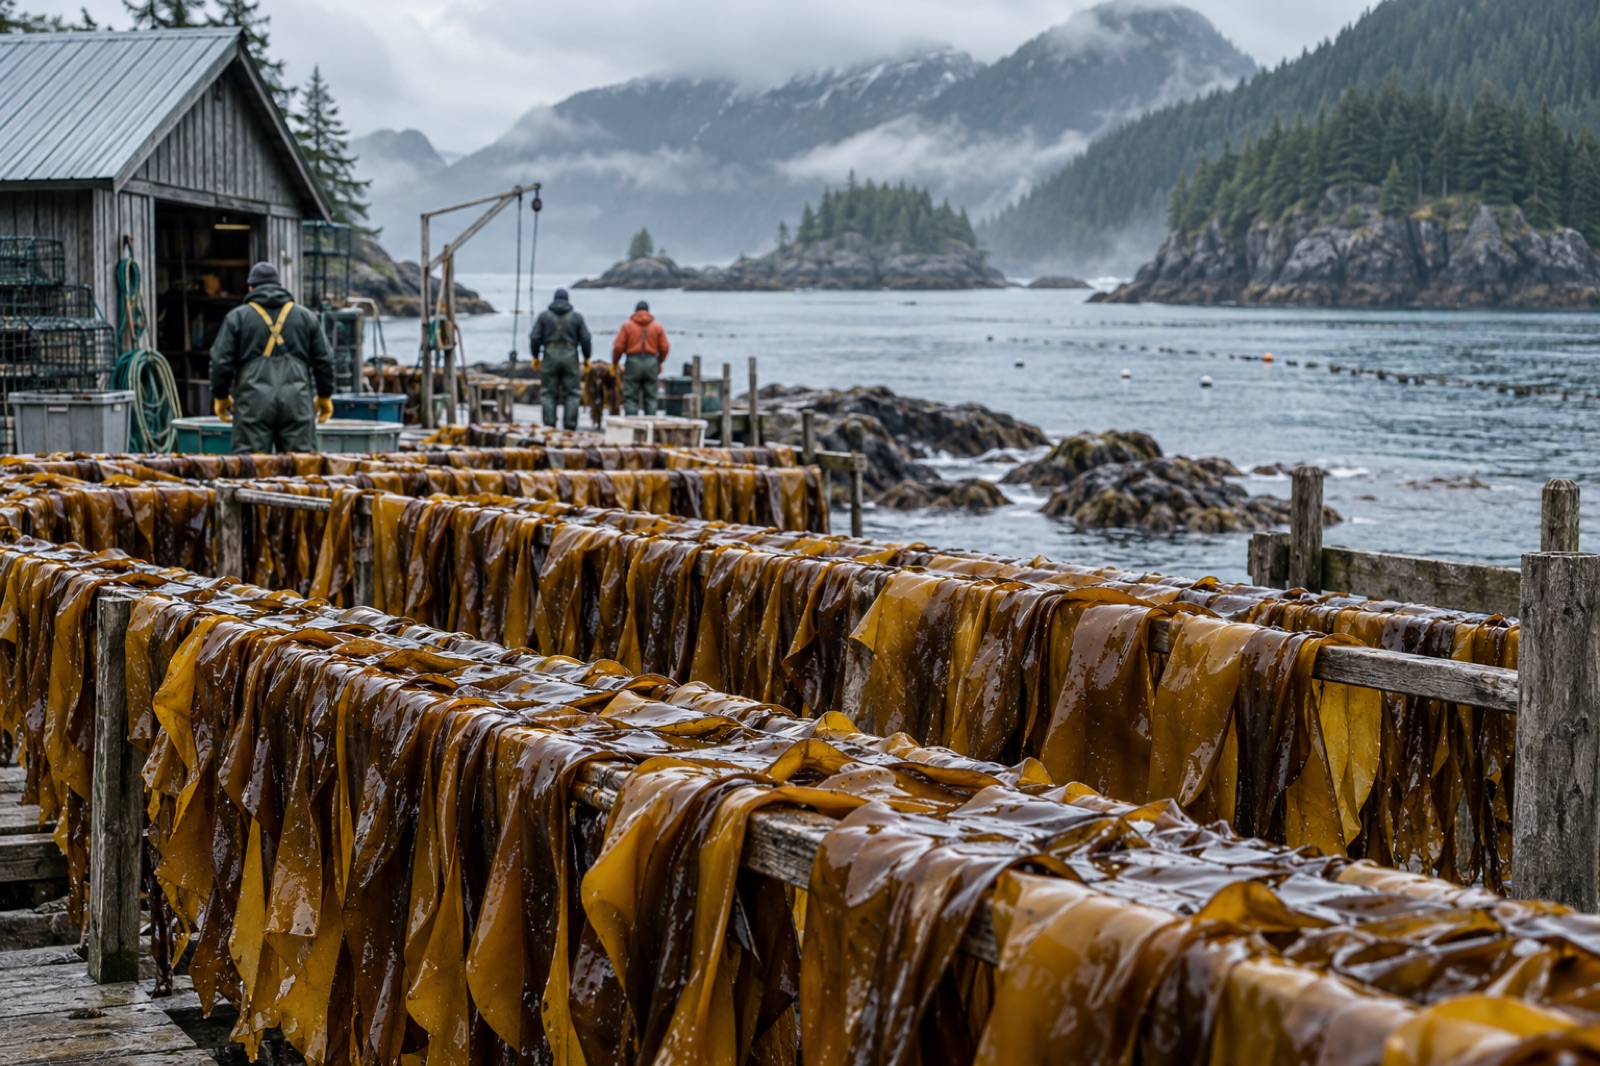
A kelp blade spends months becoming excellent and hours becoming compost. The transformation begins the moment a knife touches the stipe: the cut tissue keeps metabolising, epiphytes keep living on your product, surface microbes multiply, and heat builds anywhere blades pile on themselves. Everything a culinary buyer pays for — the snap of a fresh blade, the deep green after blanching, the clean marine sweetness — is a quality you preserve, not one you create. This article is the dockside craft of preservation: what to do on the boat, how to wash, how to sort for the kitchen, and how to stabilise the day's catch before the clock wins.
This is the handling layer. The timing and choreography of the harvest day itself live in harvest logistics, temperature discipline gets its own treatment in the cold chain for fresh kelp, and the heavy stabilisation options are in post-harvest processing. Here: the six craft steps between water and box.
Step one: deck discipline — the first hour sets the grade
Most quality loss in harvested kelp is caused before the boat reaches the dock, by three quiet killers: heat, crushing and contamination.
- Shade everything. Kelp in direct sun on a dark deck can warm fast, and warm blades senesce visibly within hours. An insulated canopy or even a wet tarp over shadowed bins earns its keep every harvest day.
- Keep loads shallow. Deep bins crush the blades at the bottom into anaerobic pulp. Shallow totes ventilated drain racks beat deep holds for food-grade product. If volume demands deeper bins, layer with racks and plan to process bottom-up at the dock.
- Cut clean, never tear. A clean knife or blade cut leaves tissue that seals reasonably; torn stipes bleed sugars and invite microbes. Replace and sharpen cutting edges during the day — the schedule belongs in your harvest equipment checklist.
- Keep deck water away from the crop. Bilge splash, fuel film and old fish-box residue are contamination vectors. Food-grade totes, cleaned between trips, are the line between "kelp" and "food-grade kelp" — the hygiene framework behind that phrase is set out in food-grade handling.
Step two: washing — seawater first, fresh water rarely
New growers instinctively reach for the freshwater hose. Resist it, with one exception discussed below.
Why seawater: kelp tissue is osmotically tuned to the sea. Fresh water rushes into the cells, swelling them, diluting flavour compounds, and leaching soluble minerals including some of the very umami chemistry chefs buy kelp for. Tanks or troughs of clean ambient seawater — agitated gently, changed often — remove sand, silt and loose epiphytes without cooking the product's soul.
The washing protocol that works:
- First tumble in ambient seawater to lift sand and loose fouling; keep residence times short.
- Hand-check for holdfasts, hydroid clumps and bryozoan mats; physical removal beats aggressive washing that bruises blades.
- Final rinse in clean seawater, then drain thoroughly — free water in the pack is dilution, weight disputes and faster spoilage.
When fresh water is the right tool: when surface salt must go. Products destined for certain culinary formats (some noodle lines, some fresh salads) and lab-analysed samples may specify freshwater rinses. Use the shortest possible contact, the coldest available fresh water, and drain aggressively. And note the regulatory point: wash water quality is a HACCP consideration if the product is eaten fresh.
Step three: sorting — the kitchen's order, not the ocean's
Sorting is where a harvest becomes a product line. Sort on a clean, shaded table with good light, and sort into the categories buyers actually pay for:
- Prime blades: whole, unfouled, mid-length sections of the blade with clean edges — the fresh-market and blanch-and-freeze grade.
- Seconds: torn, partially fouled or overly thick material — diced, dried, fermented or milled product streams.
- Stipes and holdfast-region material: tougher, different texture, different chemistry; some buyers want them specifically, most fresh-blade buyers want them removed. Separate always.
- Rejects: heavy fouling, grazing scars, discolouration. These leave the food stream entirely — and belong in your waste plan rather than a heap on the dock; handling farm waste streams covers what else they can become.
Two craft rules: sort wet and fast (a drying blade is a degrading blade), and sort by touch as well as sight — sliminess you can feel signals bacterial bloom before discolouration you can see.
Ask any buyer of Japanese wakame what makes the product glow green and they will describe a process built on one brief act: blanching kelp in hot water turns many brown kelps a brilliant, stable green. The chemistry is worth understanding because the timing window is unforgiving.
Kelp's brown colour comes from fucoxanthin, a pigment that masks the chlorophyll beneath it (why seaweeds have their colours). Brief heat denatures and releases fucoxanthin-protein complexes, unmasking the green chlorophyll — while short enough exposure leaves the cell structure, and therefore crunch, intact.
A working dockside or shoreside blanch:
- 80–90°C water, large ratio of water to product so the temperature does not crash when a basket goes in.
- 15–60 seconds depending on species and thickness — sugar kelp's thin blades sit at the short end; thick wakame stipes at the long end. Under-blanched product stays brownish; over-blanched product goes soft, olive and weeps in the pack.
- Chill immediately in cold seawater or ice water to stop the cook, then drain and pack at once. The blanch only stabilises colour and surface microbes; it does not preserve — cold storage or freezing must follow.
Blanching gear at small scale is gloriously simple: a jacketed tank, baskets, a thermometer honest to one degree, and a chilling bath. What you are buying, really, is temperature discipline.
Step five: salting and icing — stabilisation when the freezer is far
Not every harvest lands next to a cold store. Two ancient stabilisers still earn their place:
Ice. Flake ice layered through drained, sorted product drops temperature fast and buys hours to a day of fresh-grade life. The discipline: ice through the product, not on top of it; keep ice and product in drainable totes so meltwater leaves; and treat ice contact water as a hygiene surface.
Dry salting. Packing blades in food-grade salt drives water out of the tissue, drops water activity below the comfort zone of most spoilage microbes and yields a product that keeps for months at cool ambient temperature — the classic road to salted wakame and a forgiving first product for new growers. The craft points: use uniform coarse food-grade salt; salt at ratios your buyer specifies (commonly in the broad range of one part salt to three-to-five parts kelp by weight); press and drain the expressed brine rather than letting product soak in it; and label every batch with salt ratio and date, because downstream desalting instructions depend on both.
Salted kelp is not "preserved forever" — it is preserved long enough to reach a processor, which is exactly the job it needs to do.
Step six: pack-out — boxes, labels and the handover
The product leaves your custody in a box, and the box is the buyer's first sensory experience of your farm.
- Pack formats follow the market. Fresh prime blades: drained, shallow-packed (a few kilograms per layer), chilled, in food-grade liners. Blanched product: chilled or frozen flat in portions sized for the buyer's line. Salted: well-drained, weighted tiers in food-grade tubs. Mismatching the pack format to the buyer's kitchen flow is a subtle quality loss nobody measures and everybody remembers.
- Labels are specifications, not decoration. Species, harvest date, harvest site or lease ID, batch, weight, storage instruction, and your contact. Batch-level identity is what makes traceability — and any recall — survivable; the broader framework is in seaweed traceability and certification.
- The handover is the audit. Record the temperature and condition of the product at the moment the buyer or carrier accepts it. This one habit ends nearly all cold-chain disputes before they begin, and slots straight into the record-keeping regime outlined in kelp farm record keeping.
Done well, this dockside hour is the difference between farming a crop and supplying an ingredient. Chefs do not buy kelp; they buy the kelp they got last time. Handling is how you make sure last time was good.
Key takeaways
- Quality is lost to heat, crushing and contamination in the first hour; shade, shallow totes, clean cuts and food-grade contact surfaces protect the grade you spent a season growing.
- Wash in clean ambient seawater; reserve freshwater rinses for the specific products that need them, and keep them short and cold.
- Sort into the kitchen's categories — prime blades, seconds, stipes, rejects — wet, fast, and by touch as well as sight.
- Blanching converts brown kelp to stable green in seconds: hold 80–90°C, time by species and thickness, and chill hard immediately afterwards.
- Ice buys hours; dry salting buys months. Labels carry identity, and recording the handover condition closes the loop with your buyer.
FAQ
How fast does fresh kelp actually spoil?
Warm and piled, measurably within hours: core temperatures in deep bins rise, blades soften, and sour notes develop within a day. Shaded, shallow, chilled handling stretches the fresh window to several days, which is why the clock management runs deck-first: the cheapest quality protection on the farm is a tarp and a shallow tote. For the fuller shelf-life picture, see how long fresh seaweed keeps.
Should I wash kelp in fresh or salt water?
Salt water by default: kelp tissue is osmotically matched to seawater, and fresh water swells cells, dilutes flavour and leaches minerals. Fresh water has legitimate uses — desalting the surface for certain culinary formats, specific lab samples — but keep contact short, cold and followed by thorough draining.
Why does blanched kelp turn bright green, and why doesn't it stay?
The heat denatures brown fucoxanthin pigment complexes, unmasking the green chlorophyll underneath. It stays green only if the blanch is brief and the product is chilled and kept cold or frozen afterwards; prolonged heat cooks the chlorophyll to olive tones, and warm storage lets cell breakdown reclaim your crunch.
Is salting old-fashioned compared with freezing?
Different, not outdated. Freezing best preserves fresh texture and suits blanched or fresh-packed supply chains with reliable cold storage. Salting requires no energy chain at all, is forgiving of dockside realities, yields products (like salted wakame) some buyers specifically want, and converts a chaotic peak harvest into a stable, shippable inventory. Many small farms run both and let the market choose.
What do buyers actually check when my kelp arrives?
Temperature and condition first, then appearance against your last batch: colour, blade integrity, fouling residue, smell, and — over time — batch-to-batch consistency. The paperwork follows: label accuracy and batch identity that matches their spec sheet. Consistency is the product; the box is just where it is judged.