Kitchen7 min read
Kobujime: The Japanese Art of Curing Fish in Kombu
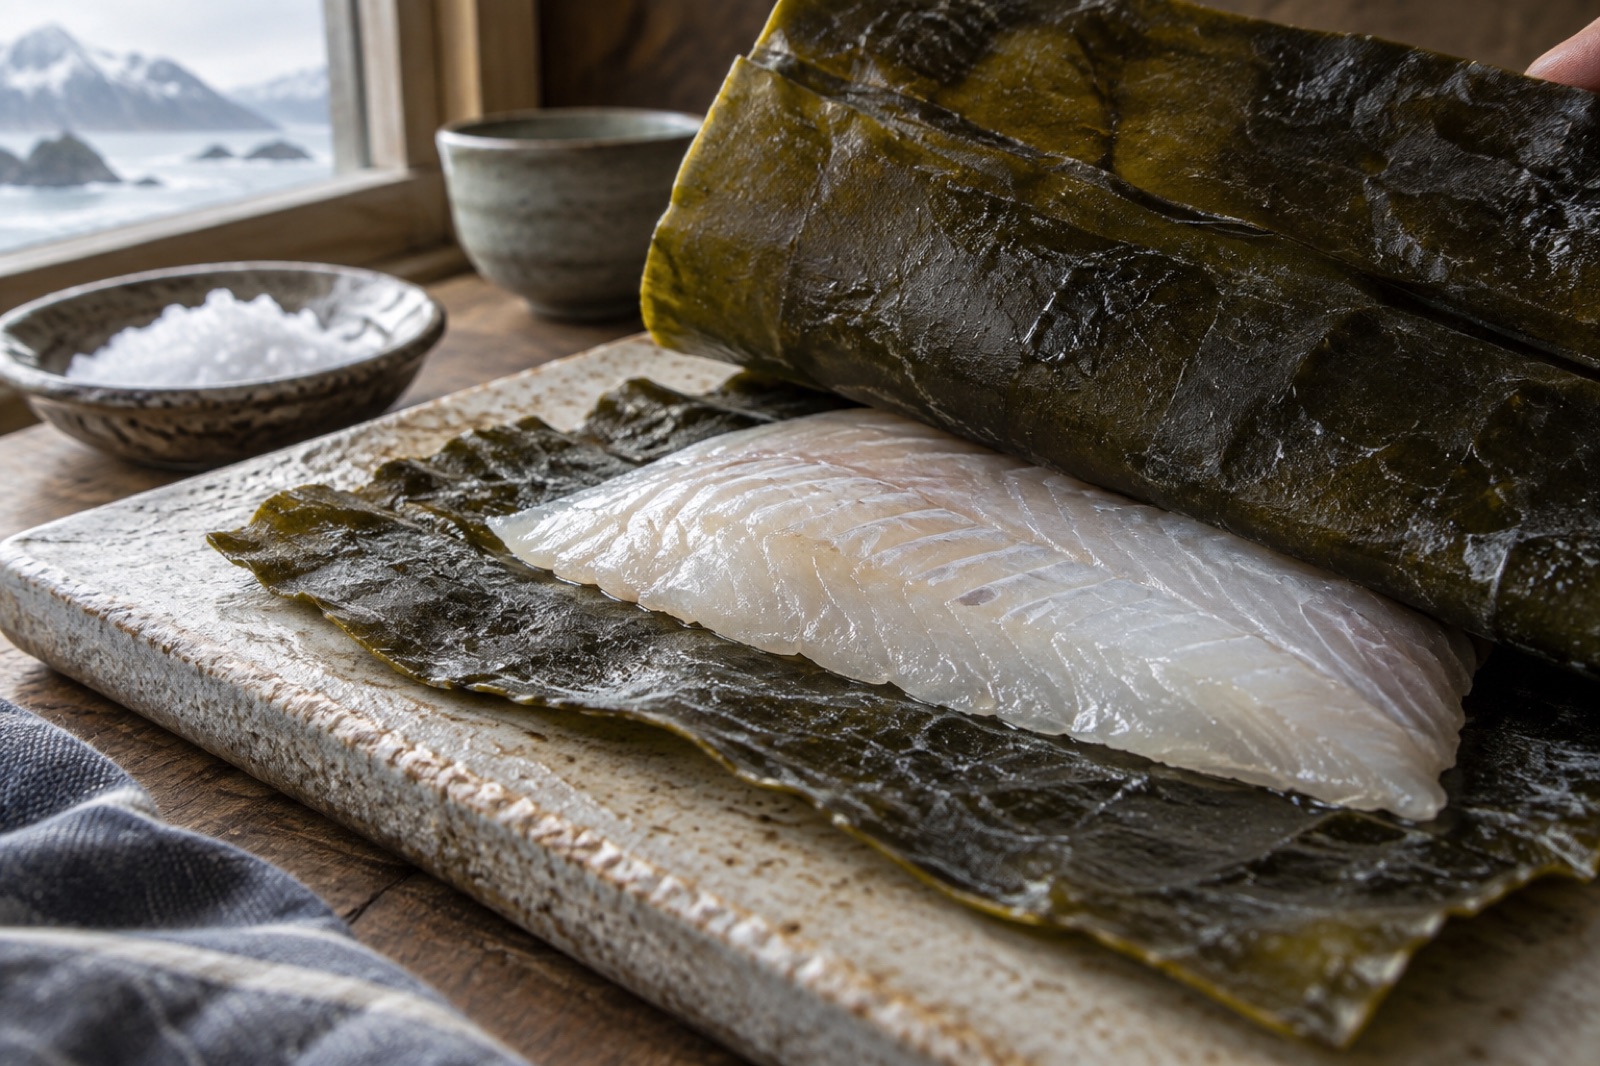
How to cure white fish between sheets of kombu: the umami science behind kobujime, fish and kelp choices, timing, serving, and honest food-safety notes.
Sofia Andersson ·
Adapt kobujime — the Japanese kombu-curing technique — to vegetables: which vegetables work, timings by density, and how kelp firms and seasons produce.
Kobujime — pressing fish overnight between sheets of kombu — is one of the great low-effort flavour techniques, and I've written about the classic version with fish in our kobujime guide. But the day it occurred to me to slip a daikon between the kelp instead of a flounder, the technique doubled in usefulness. Vegetables take to kombu-curing beautifully: they firm, intensify, and pick up a savoury depth that makes them taste like a restaurant spent all day on them. No heat, no special equipment, and the kombu comes out reusable.
Here's the why and the how — which vegetables respond, timings by density, and what to do with them afterward.
Three things happen while a vegetable sleeps between kelp sheets.
First, flavour transfer by contact and moisture. Kombu's surface carries free glutamates, minerals and aromatic compounds; where it touches damp vegetable flesh, those migrate inward. Vegetables don't absorb as deeply as fish — there's less intracellular water movement — so the effect concentrates in the outer few millimetres, which is exactly where your tongue meets it when sliced thin.
Second, gentle dehydration. Dried kombu is thirsty. It wicks surface moisture from the vegetable, firming the texture and concentrating what's left. A kombu-cured radish slice is noticeably crisper and denser than its raw twin.
Third, a whisper of salt. Most dried kombu carries traces of sea salt on its surface. Over hours, the vegetable seasons itself from the outside in — never as evenly as salting directly, which is why I add a whisper of salt myself.
The combined result reads as "seasoned and somehow more itself": a cucumber that tastes intensely of cucumber, a carrot with an unexpected bass note. For the chemistry behind why kombu is such a generous donor — it's the same glutamate story that powers dashi — see kombu and umami and our kombu species profile.
Wipe the kombu with a barely-damp cloth only if it looks dusty. Don't wash it — the white powdery bloom on good kombu is largely mannitol, a natural sugar alcohol that contributes flavour, and water rinses it away.
Moisture content and density drive everything. Juicy vegetables cure fast; hard, sweet roots need a day to notice.
| Vegetable | Cut | Cure time | What you get |
|---|---|---|---|
| Cucumber | Halved lengthwise, seeded, in planks | 2–4 hours | Glassy, intensely cucumber-scented; the beginner's triumph |
| Daikon | 1 cm rounds or half-moons | 6–12 hours | Firm, mild heat, deep savour; superb sliced paper-thin |
| Carrot | Quartered lengthwise | 12–24 hours | Denser, sweeter, cured-carrot stick of real character |
| Fennel | 5 mm wedges | 4–8 hours | Anise softened, umami added; my favourite for guests |
| Cabbage (tight head) | Wedges | 8–12 hours | Between salad and pickle; lovely with sesame oil |
| Turnip | Halved or quartered | 6–12 hours | Like a light tsukemono with extra depth |
| Zucchini | Lengthwise planks | 2–4 hours | Watch it — goes from cured to tired quickly |
| Avocado (firm-ripe) | Halved, stone in | 1–2 hours | Unorthodox, but the savour against the fat is real; serve immediately |
| Pumpkin / kabocha (raw) | 1 cm wedges | 24 hours | Chewy, sweet, intensely flavoured; also cures well pre-roast |
Two rules of thumb: anything you'd eat raw can be kombu-cured, and when in doubt, check early — you can always return it to the kelp, but over-cured vegetables can't be firmed back up.
Sake-lees style: smear a whisper of sake kasu on the kombu's inner faces for a funkier, preserved-lemon-adjacent result.
With aromatics: a strip of yuzu or lemon peel, a few sansho peppercorns, or a sliver of ginger laid against the vegetables inside the sandwich. The kombu protects them from overpowering while they perfume gently.
Pre-cook curing: a 12–24 hour cure on potato or pumpkin wedges before roasting gives a noticeably better crust and a seasoned interior — the dehydration step works like a dry brine.
The second strip: kombu sheets survive one vegetable cure with flavour to spare. Reuse them once for another cure, then simmer them into a small batch of kombu tsukudani — three lives for one sheet of kelp.
The simplest and best presentation is thin slices on a cold plate with a few drops of good oil (sesame or olive) and nothing else. From there:
Nothing happened. Cure longer; or your kombu was old and pre-stripped of surface compounds (good dashi technique uses the same glutamates, so a sheet that's already made soup has little left to give). Use unused sheets.
Too salty. You salted too generously up front. Wipe, pat, and serve with fat (oil, avocado, tahini) rather than more seasoning; next time halve the salt.
Flecks of kelp clinging everywhere. Normal with cheap kombu that sheds. Brush with a dry pastry brush; the flecks are edible and harmless, just scruffy on a composed plate.
Vegetables went limp rather than firm. Usually zucchini or cucumber cured far too long, or salted heavily then left uncovered so surface moisture couldn't be wicked away evenly. Trim the timing, pat dry after salting.
I like this technique for reasons beyond flavour. Dried kelp is a shelf-stable way to keep the ocean's savour in a landlocked kitchen — a few grams of kelp, reused three times, seasoning weeks of vegetables. It's the kind of cooking that makes the case for regenerative kelp farming better than any brochure could, which is the whole logic of Tidewright's Harvest line: restoration funded partly by putting genuinely useful kelp products in ordinary kitchens. If you're building a seaweed pantry from scratch, our starter kit guide shows where kombu sits in the starter shelf.
Yes — once more for curing, then in a cooked preparation. Each use extracts noticeably less flavour. After the final use, simmer the sheets into tsukudani or chop them into a braise. Never reuse kombu that's been in contact with raw fish for vegetable cures.
Worth doing once, enthusiastically, at 90 minutes on a firm-ripe fruit. The glutamate edge against avocado's fat is genuinely good. Beyond two hours it turns dull and over-firm. Serve it straight from the kelp.
Cooking-grade or offcuts. Reserve premium dashi grades (rishiri, ma-kombu) for stock — curing uses surface compounds that even humble sheets carry plenty of. The economics matter too: a cheap 100 g bag handles dozens of cures.
Not really, at least not the same way. Kombu's combination of glutamate load, flat geometry and thirstiness is what makes the technique work. Nori is too thin and disintegrates; wakame is rehydrated-first and flavours differently. Kombu is the tool for this job.
Tsukemono typically cure in salted brines, beds of nuka (rice bran), or heavy salt presses — they're about transformation and preservation. Kombu-curing is lighter: a seasoning treatment that firms and flavours while leaving the vegetable essentially fresh. Think of kobujime as the day-tripper cousin of the pickle family.
How to cure white fish between sheets of kombu: the umami science behind kobujime, fish and kelp choices, timing, serving, and honest food-safety notes.
Sofia Andersson ·
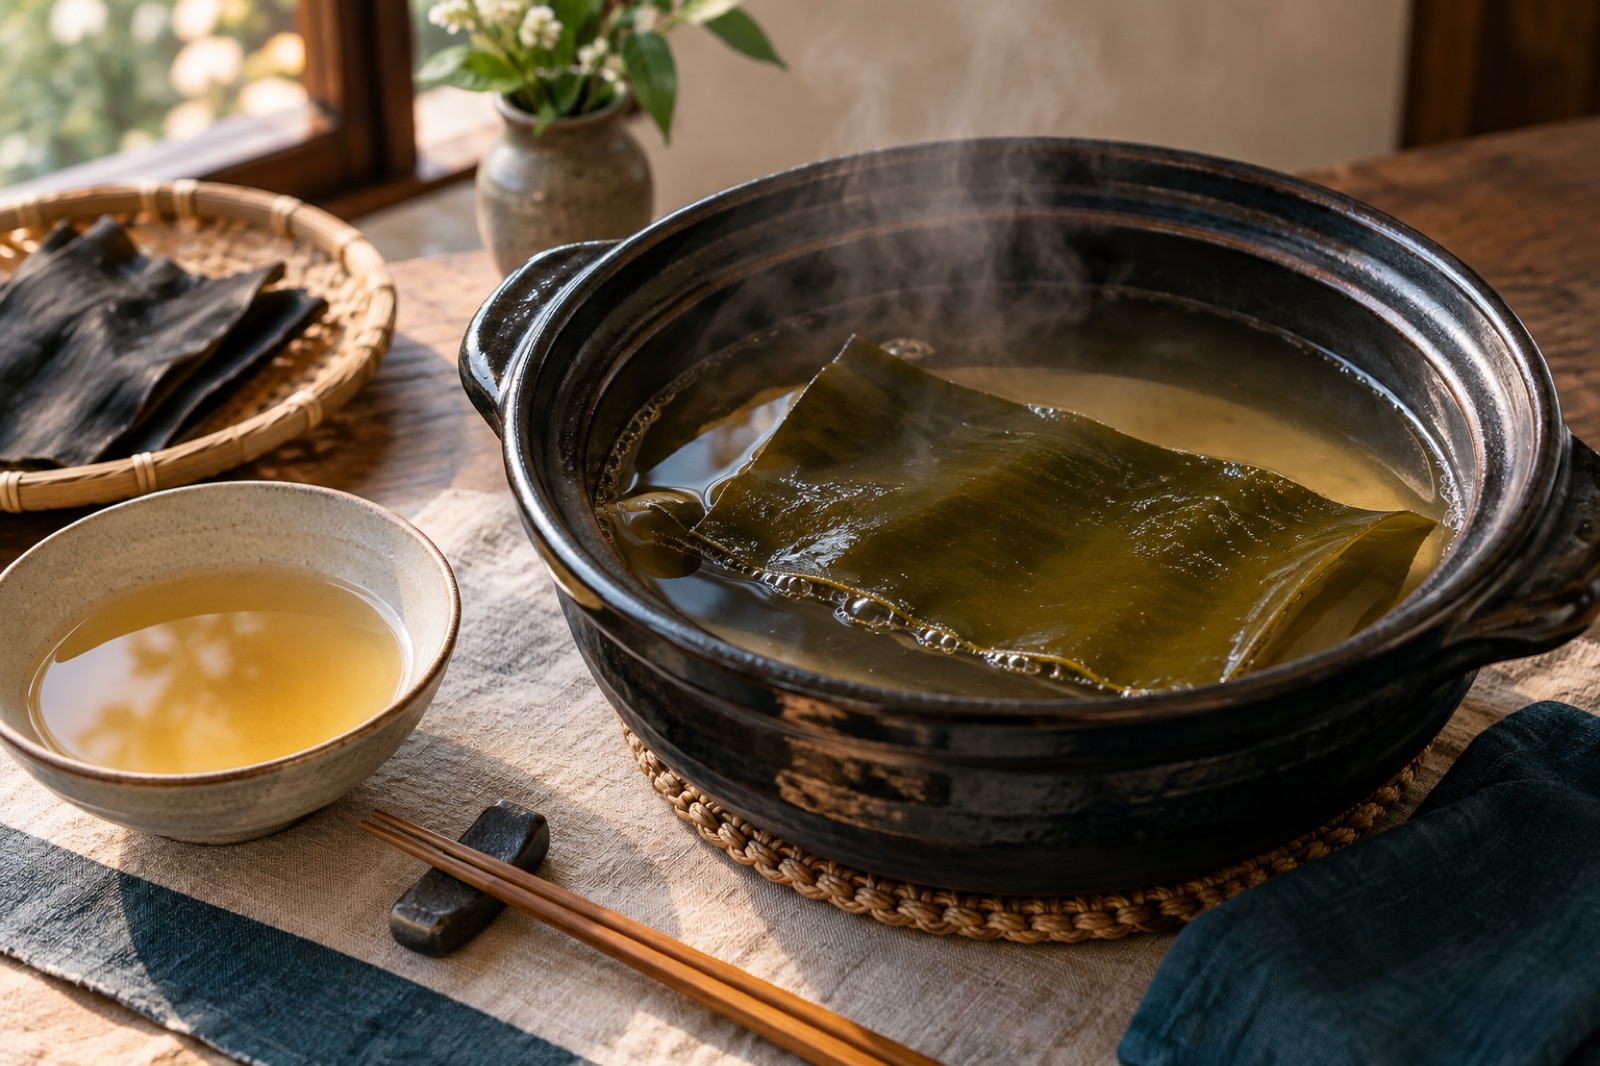
A deep, technique-first guide to kombu dashi: glutamate science, exact temperatures, ichiban and niban infusions, and how to fix every common mistake.
Sofia Andersson ·
Kombu is the original umami. How glutamate works on the tongue, why temperature decides your dashi's flavour, and how to season with the sea.
Sofia Andersson ·