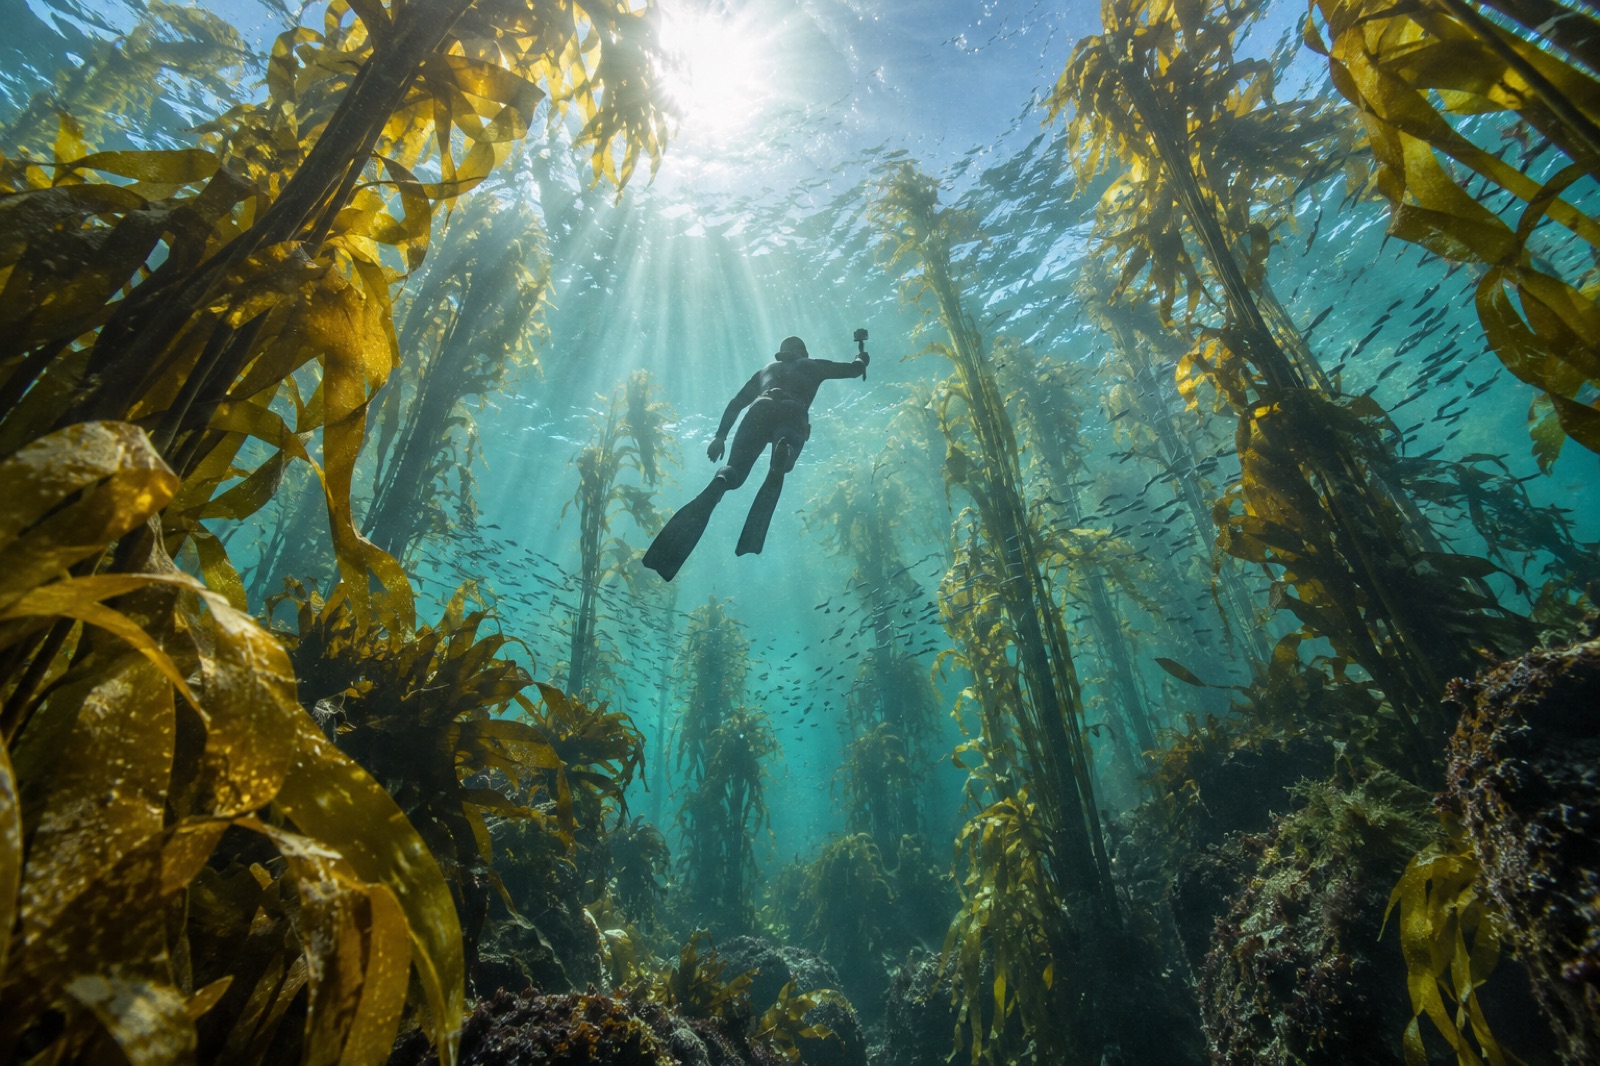
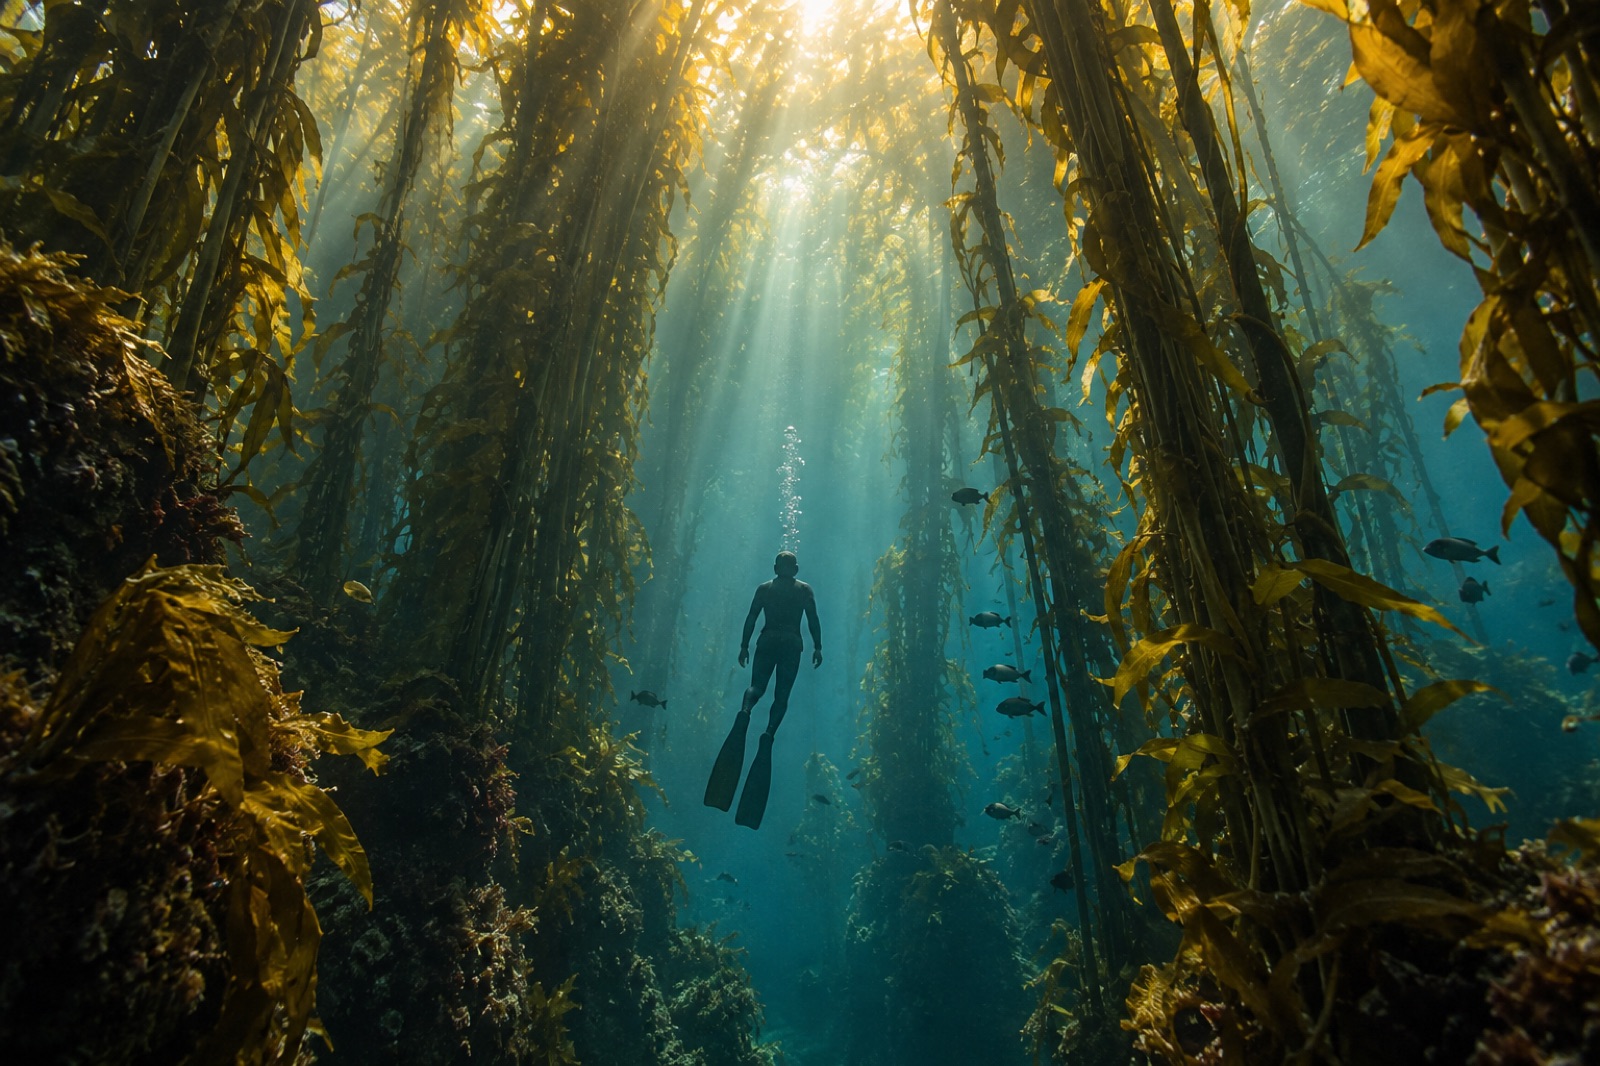
Some of the best kelp-forest images on the planet were made by people holding their breath. Snorkel photography sounds like a compromise — until you spend an afternoon watching freediving photographers hang motionless under a golden canopy while scuba bubbles chase every fish on the reef. The snorkeler's advantage is silence and patience; the constraint is time, measured in seconds of breath. This guide shows you how to spend those seconds well: how to budget a breath so you arrive calm instead of gasping, where the light does the most work for you from the surface downward, the minimal kit that doesn't drag like a sea anchor, and how to compose when you can't hover forever. It assumes you already swim comfortably in kelp country — if you don't, start with our snorkelling safety guide for kelp coastlines first, and read the freediving buddy rules before doing any breath-hold work with a camera in your hands.
Why shoot on breath-hold at all
Scuba lets you hover; breath-hold lets you disappear. A snorkeler doesn't exhale clouds of bubbles, so fish stay relaxed, harbour seals keep looking at you instead of leaving, and the moment you line up is not stunned by an eruption of noise from below. You also travel lighter: no tank means quicker entries through surf, less fatigue over a long surface swim, and more time face-down where the compositions happen.
There are fair limits. You won't wait out a shy fish at 12 metres. You work with natural light only — no time to place strobes falls within a breath. And every shot is taken from a body that wants to float up, which changes both your angles and your stability. Once you accept the deal — trade your air for stealth and lightness — snorkel photography stops being scuba's poor cousin and becomes its own craft.
The breath budget: treating air like film
Cardiac discipline is the entire sport. Each underwater moment comes out of one fixed budget of breath; spend it hunting frantically after a refuse-to-pose fish, and you'll blow it in six seconds and surface with nothing but a raised heart rate — and raised heart rate makes the next breath shorter.
An efficient photo dive works like this:
- Breathe up at the surface for one to two minutes — slow, relaxed, face in the water looking at the subject. You're not just loading oxygen; you're reading light and composition so the dive itself is execution, not exploration.
- Decide the shot before you drop. Subject, angle, background, one deliberate focal point. If you are improvising underwater, you're paying for planning time with oxygen.
- Duck-dive smoothly, once. A clean, bent-at-the-waist entry with a long glide wastes almost no energy; a splashy flail with three kicks burns a quarter of the breath before you arrive.
- Settle, count to three, fire. Your first half-second of stillness is when your heart rate is lowest — this is your sharpest window. Fish forgive motionless people quickly; moving people never.
- Surface early. Come up with something in reserve. Any dive that ends in a desperate gasp was planned wrong; it also violates the safety rules — never hyperventilate to extend a dive and never dive beyond easy comfort even if the shot is perfect.
The result: fewer frames per session than any scuba shooter, but almost none of them wasted on hunting. If breath control is new to you, work through the Frenzel equalisation basics so depth changes stop costing extra air.
Working the light from above
Without strobes, sunlight is your only flash, and you read it like an outdoor portrait photographer — but the sun moves fast at your working depths.
Midday is not the enemy
On land, photographers hide from noon. On snorkel dives, overhead sun is a gift: it shoots straight down the longest axis of the water column, driving light two to three metres deeper than a low sun ever manages and throwing vertical light shafts through the kelp canopy. In kelp, midday delivers the cathedral.
Stay shallow on purpose
Colour dies with depth — reds vanish by five metres. Since you're breathing up anyway, work the first three to five metres and leave deeper subjects to scuba shooters. Shallow water is also where the dramatic negatives live: canopy silhouettes against the sky, schools of baitfish under bird shadows, a seal seen from beneath against the surface mirror.
Shoot with the sun, or against it, never across it
Side light on greenish water just shows you every suspended particle as snow. Point your back to the sun and water goes blue and subjects glow; point into the sun and you get rimmed silhouettes and shafts. The middle angles are the mud.
A minimal kit that sinks right
Drag is a tax on every breath, so keep the rig small and neutral.
- A compact camera in a housing, an action camera, or a phone in a good case. All three take excellent natural-light images if you stay shallow; interchangeable lenses matter less underwater than readiness. Our underwater camera gear basics walks through housings without the marketing, and shooting with just a phone is genuinely viable for canopy work.
- A short lanyard, snug to your wrist. If the camera hangs a metre loose it swings like a pendulum on every wave; kept close, it disappears along your forearm while you swim.
- A small weight belt, only if you need it — and lighter than your freediving belt. Puffy new wetsuits want to cork you at three metres; a kilogram or two lets you hang level without finning. Fewer kilos means more air — fur trade every gram.
- No strobes, no tray, no video lights to start. Every accessory is drag, weight and one more thing to crash into kelp. Add one tool at a time over months, when you can name the shot it's required for.
- A defog routine before you leave home. A fogged port at depth is not fixable on one breath; prep masks and ports the evening before.
Composing when you can't wait
You get roughly one good composition per breath. That pressure is actually clarifying — the same way film sharpened generations of photographers.
Shoot from below more than from above. On breath-hold you can't park at a mid-water level, so your two natural perspectives are looking down from the surface (kelp canopy patterns, fish schools, mosaic light on sand) and looking up from the bottom of a dive (kelp against the sky, friends snorkelling silhouetted, light shafts). Perspective looking straight up at the sun from three metres is arguably the signature shot of breath-hold kelp photography, and scuba shooters rarely aim high because they think in tech-buoyancy.
Use the kelp itself as a frame. Blades in the near foreground, soft and amber, around a sharper school of fish or seal. Foreground framing requires touching nothing — drift up to the fronds, never grab at them. Kelp breaks, and the hands that hold it are much heavier than they feel. Read our wildlife ethics guide before you touch anything in a forest.
Build a surface routine. A pattern like breathe up, one dive, make one frame, surface, review, adjust, repeat beats continuous effort and is exactly how portfolio shots get made. The review step is why digital freed from film: you iterate faster.
After the dive: editing natural-light frames
Underwater natural-light frames almost always need a white-balance rescue; green-blue casts are honest physics, not a bad camera. Bring back warmth gently — too much red and the water goes grey-purple. Lift the shadows a touch, pull highlights down on the surface mirror, and add contrast sparingly: kelp-forest pictures die from looking soupy. Keep a light hand with saturation; a convincing forest shot wins on light, not on punch.
Key takeaways
- Snorkel photography trades air for stealth and lightness: budget each breath with a pre-planned shot, breathing up calmly before each dive.
- Shoot shallow (first 3–5 m), work overhead midday sun, and keep the sun behind you or directly into it — never across the water.
- A tiny, snug kit — one camera, a wrist lanyard, minimal weight — is faster, quieter and cheaper on air than a loaded rig.
- Two natural perspectives dominate: canopy patterns from above straight down, sky and shafts from below looking up; kelp fronds make frames.
- Never hyperventilate, always dive with a buddy watching on the surface within reach, and surface with air in reserve — the shot is never worth the risk.
FAQ
Do I need to be a certified freediver to shoot photos on breath-hold?
No course is legally required for snorkel-depth photography, but the safety habits in freediving courses — buddy watching on the surface, dive-time limits, no hyperventilation — apply from your first shallow dive. If you plan to go below a few metres for photography regularly, a basic freediving course is genuinely worth the money.
What camera should a beginner use for snorkel photography?
Whichever waterproof camera you already own is the right first camera: phones in quality housings and compact action cams both excel in the first few metres with natural light. Skill in breath control and composition moves your images forward far more than stepping up to a bigger sensor.
Why do my underwater shots come out blurry or green?
Blurry usually means motion — finning or kicking during the exposure; settle still for a count of three before firing. Green comes from water’s natural colour absorption; shallow depth plus overhead light keeps more colour, and a thoughtful white-balance edit brings the warmth back.
How do I avoid spooking fish while snorkelling?
Descend slowly and settle without swimming at them; exhale little bubbles if any through your snorkel, and approach at an angle rather than head-on. Fish that watched you sink settle within a minute if you stay still — the bubbles of scuba are the real frightener in kelp forests.
Is a weight belt safe for snorkelling photographers?
A small belt worn correctly — holding you neutrally at your working depth only — is standard in breath-hold photography. Skip it entirely if your photography stays at the surface, and always practise with a buddy before adding any weight you can't dump easily.