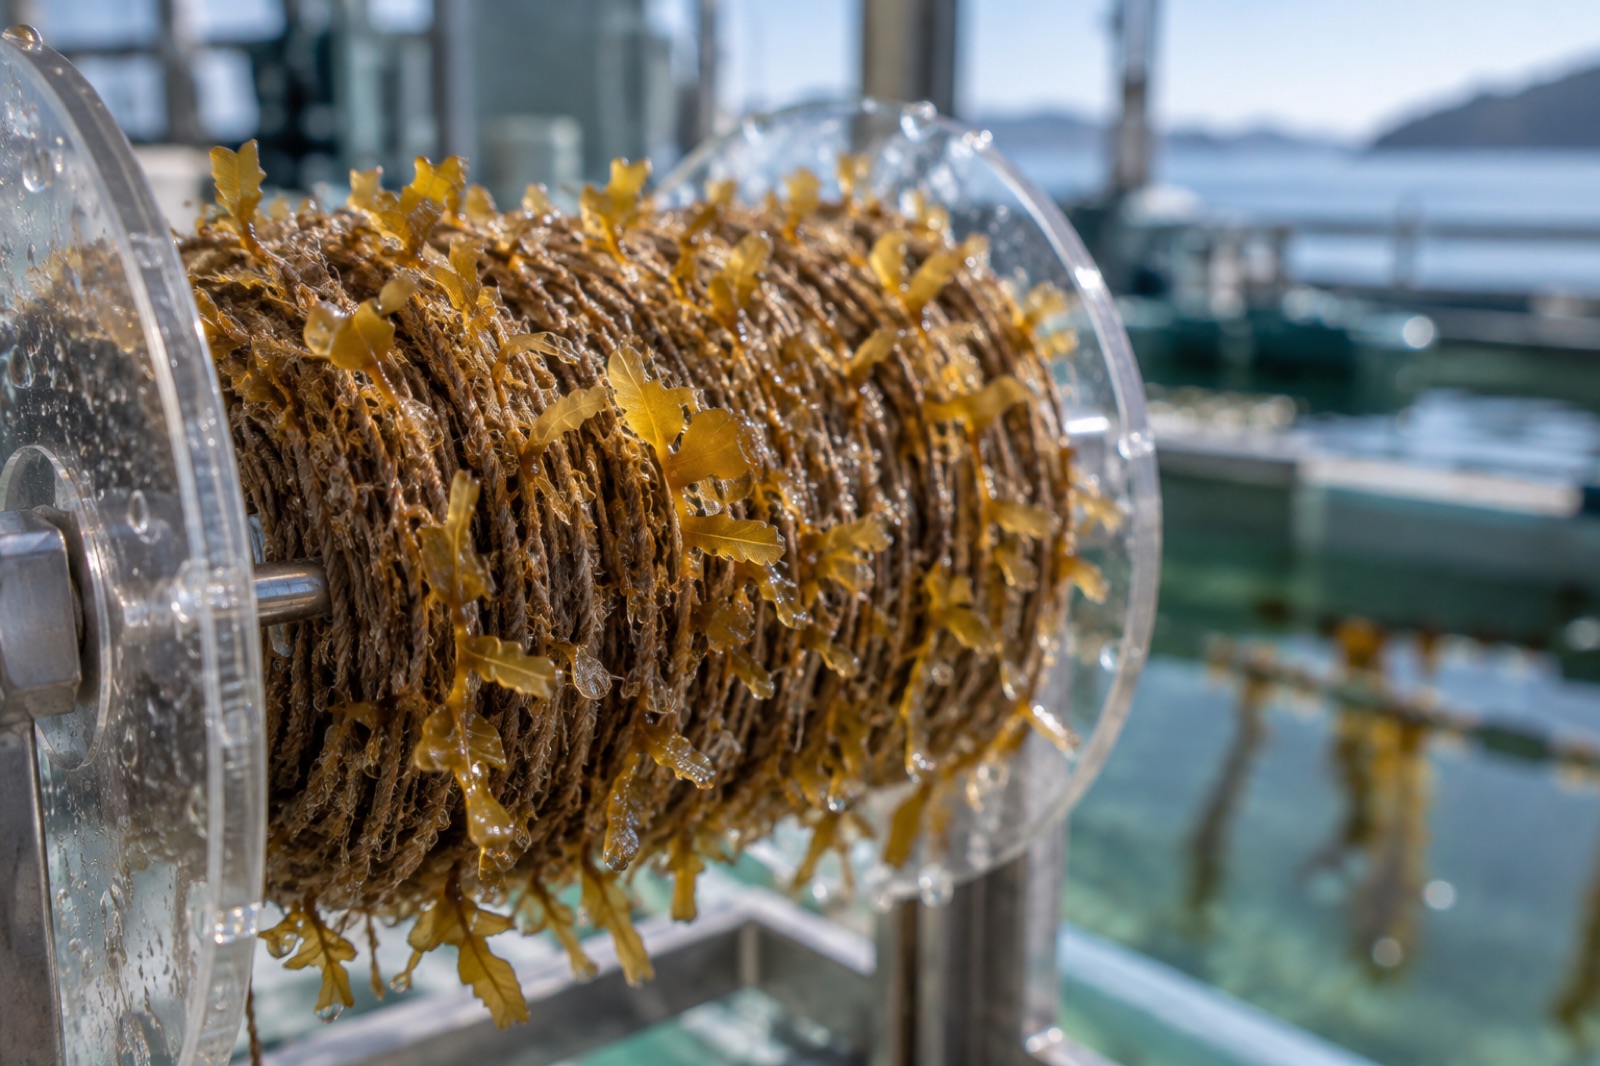
Every kelp farmer eventually learns the same expensive lesson: the week you outplant is not the moment to discover the seed is weak. Seeded twine is a living cargo — thousands of microscopic kelp plants glued to a string — and it can look perfectly uniform while being biologically exhausted. A discolored spool might still recruit beautifully; a beautiful spool might have been heat-shocked in transit and never make a blade. Viability testing is the habit of checking, before deployment, that the seed will actually grow. Here is a practical, low-equipment framework for assessing kelp seed stock before it goes to sea.
What "viable" means for kelp seed
Kelp seed on twine is usually at one of two stages (the full pipeline is described in seaweed seed stock):
- Gametophyte stage: microscopic male and female filaments settled on the twine. At this stage the twine looks almost clean, and viability is about healthy, pigmented, dividing cells.
- Juvenile sporophyte stage: after fertilisation, tiny blade-forming sporophytes visible (barely) to the naked eye, typically in the 0.2–2 mm range at deployment.
Viability at both stages means two things: the plants are alive and physiologically active, and there are enough of them, evenly distributed, per centimetre of line. Either failure is fatal to the crop, and each has its own check.
Check 1: Look — the naked-eye and loupe inspection
Start with what you can see. Under good light with a 10× hand lens:
- Colour: healthy gametophytes and young sporophytes carry a rich olive-brown tint from their pigments. Pale, whitish, or chalky patches suggest light-starved or senescing cultures. Bright green fuzz is not kelp — that is contamination (see Check 4).
- Evenness: walk your eyes down the twine. Gaps, patchy bands, or heavy clumps at the coils (where spores pooled) forecast an uneven longline.
- Twine condition: viable biology on a failing substrate is still a failure. Check for kinks, frays, brittle spots and kinks that will cut sporelings off when the line is tensioned — the mechanics overlap with seed string production choices.
Check 2: Count — settlement density under a microscope
This is the single most diagnostic number in kelp seed QC. Snip a few 1 cm segments from several positions on the spool (top, middle, bottom; inner and outer coils), mount them under a basic compound microscope at 100×, and count settled propagules or juvenile sporophytes per field of view; convert to per-millimetre-of-line figures.
Working ballparks used across the industry:
- Too sparse: below roughly one sporophyte per few millimetres, longline yield drops and gaps never close.
- Target: growers commonly aim for several to a dozen or more juvenile sporophytes per centimetre, evenly spread.
- Too dense: extreme densities cause self-thinning losses and spindly, tangled juveniles — though density problems are far more often too-low than too-high.
Count at least five segments and average; kelp seeding is variable by nature, and single-snip optimism has sunk many seasons.
Check 3: Test physiology — a regrowth assay and a fluorescence proxy
Counts tell you how many plants exist; physiology tells you whether they will grow.
- The regrowth assay (the gold standard, and it's cheap): take three 20 cm subsamples off the spool and culture them in the conditions described in hatchery water quality — cool, clean seawater, moderate light. Compare growth over 7–10 days against a fresh reference culture or your historical records. Healthy seed should show visible sporophyte elongation within a week. No growth, or browning and sloughing, means do not deploy.
- Chlorophyll fluorescence (if you have access): a PAM fluorometer gives an Fv/Fm-type reading in seconds — a direct measure of photosynthetic health. Stressed seed shows depressed values even when it still looks fine. More hatcheries and some larger farms now own pocket fluorometers for exactly this use.
- The smell test, honestly: open the spool bag. Clean marine, faintly grassy is fine. Sour, sulphurous or ammonia notes mean microbial breakdown — the biology is already composting.
Check 4: Screen for contamination and fouling
Twine is an inviting surface for everything, not just kelp.
- Diatom films (golden-brown slime) compete for space and light; light films are common and tolerable, heavy films suppress recruitment.
- Green filamentous algae and cyanobacteria are harder competitors and signal nutrient or light mismanagement in the hatchery.
- Ciliates and grazers under the microscope can be literally eating your crop.
A spool with heavy contamination should not go to sea — it fouls your longlines, can seed nuisance species onto the farm (see biosecurity on a seaweed farm), and underperforms regardless of kelp density.
Check 5: Audit the journey — transport and handling stress
Most seed failures are not grown in the hatchery; they are inflicted between the hatchery door and the farm. Before deployment, reconstruct the chain of custody:
- Temperature history. Kept cool and stable (typically 4–10 °C for coldwater kelps) in the dark or low light? An afternoon on a hot dock can halve viability without visible sign. Data loggers in transit shippers are cheap and increasingly standard.
- Desiccation exposure. Seed twine tolerates brief damp-out-of-water handling, not drying. Every unplanned dry minute in wind or sun costs.
- Time since seeding / harvest. Gametophytes have a shelf life even under ideal storage; very old stock recruits poorly. Ask the supplier for culture age — reputable hatcheries (and the seed sourcing guide) insist on this.
- Acclimation plan. Abrupt swings in temperature or salinity at deployment shock the seedlings; match site conditions gradually over a day where possible.
In Tidewright's Holdfast nurseries, every seed batch leaves with a viability certificate built from exactly these checks — density counts, a regrowth assay, and a transport log — because a reseeding program cannot afford to lay weak line at reef scale. A small farm is entitled to the same discipline at notebook scale.
Check 6: The trial outplant — the check that settles arguments
When value or uncertainty is high, deploy a stub. Tie 5–10 m of the seeded line (or a few seeded rings) at the farm site, at working depth, and inspect after two to three weeks:
- Recruitment visible and elongating? Deploy the rest.
- Sparse or failing? You have lost weeks, not a season.
Trial outplants cost almost nothing and settle disputes between hatchery records and farmer scepticism with the only evidence that matters: growth at your site.
A pre-deployment checklist you can laminate
- Visual + loupe inspection passed (colour, evenness, twine condition).
- Density ≥ target, averaged over ≥5 segments.
- Regrowth assay showing growth within 7–10 days (or clean fluorescence readings).
- No heavy contamination; no sour odours.
- Transport log reviewed: cool, dark, damp, on-time; acclimation planned.
- Trial stub deployed if first deployment, new supplier, or any doubt.
Key takeaways
- Kelp seed twine can look fine and be biologically dead — test, don't trust appearance.
- The core viability metrics are settlement density (sporophytes per cm, averaged) and physiological health (regrowth assay or fluorescence).
- Contamination and transport stress kill more deployments than genetics; audit both.
- A small trial outplant is the cheapest insurance in the whole farming year.
- Put the checks in writing with your hatchery — viability certificates at handover are becoming the professional norm.
FAQ
How many sporophytes per centimetre do I need on seeded twine?
Practice varies by species and season, but growers commonly aim for several to a dozen-plus visible juvenile sporophytes per centimetre at deployment, evenly distributed. Below about one per few millimetres, yields and line coverage suffer badly. Calibrate your target against your own species and previous seasons.
Do I need a laboratory to test seed viability?
No. A basic compound microscope (100×), a hand lens, a hand light, three culture buckets for a regrowth assay and a cheap temperature data logger cover the essentials. Fluorometers help but are optional. Most small farms can run a full QC screen for the cost of one bad deployment.
Can I revive stressed seed before outplanting?
Mildly stressed seed sometimes recovers after a few days back in cool, clean, well-lit hatchery water — which is exactly what the regrowth assay tests. Seed that shows no recovery in 7–10 days of good conditions should be considered non-viable and replaced.
What are the warning signs of contaminated seed string?
Bright green fuzz, heavy golden-brown slime films, sour or sulphurous odours when the bag is opened, and visible non-kelp filaments or swarming protozoa under the microscope. Contaminated spools underperform and can seed nuisance species onto your lines — reject or quarantine them.
Who is responsible if seed fails — me or the hatchery?
That depends on the contract, which is why handover documentation matters. Good hatcheries supply density counts and culture age with each batch; good farmers log transport conditions and run a receipt inspection. When both sides keep records, failures can be traced to biology, transport, or site — and prevented next season.